
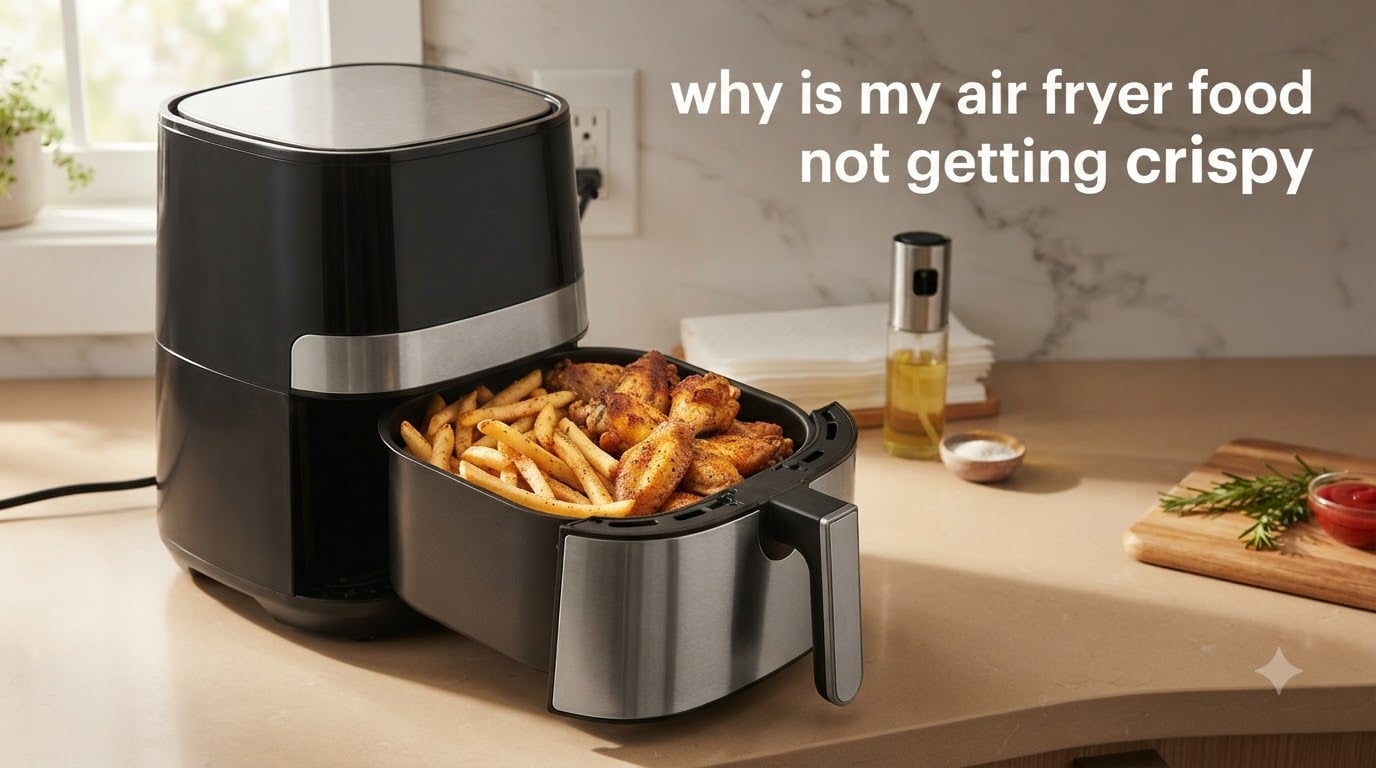
If you’ve been staring at a basket of sad, pale, rubbery fries and wondering why is my air fryer food not getting crispy, you’re not alone. This is the single most common complaint on air fryer forums, and it almost always traces back to one of a handful of fixable mistakes. The machine is rarely the problem – your technique usually is.
I run an air fryer nearly every day at home, and our team has cooked through hundreds of test batches to figure out what really makes the difference between soggy and golden. In this guide, I’ll walk you through the science of crispiness, the eight most common causes (in order of how often we see them), and a repeatable routine you can use every time. By the end, your chicken skin will crackle, your frozen fries will actually crisp, and your leftovers will taste freshly cooked.
Table of Contents
Why Your Air Fryer Food Isn’t Crispy (Quick Answer)
Air fryer food fails to crisp when hot air cannot reach the food surface, when the surface is wet, or when the temperature is too low for the Maillard browning reaction to start. In nearly every case, the fix is simple: cook in a single layer, pat the food dry, preheat the basket, and finish at 400F (204C) with a light mist of oil. Use the five root causes below as your troubleshooting checklist.
- Overcrowding blocks airflow – hot air can’t circulate around each piece.
- Surface moisture steams instead of browns – always pat food dry first.
- Temperature too low – you need at least 375F (190C), ideally 400F (204C).
- Oil misuse – too much, too little, or sprayed into an empty basket.
- Skipping the shake or flip – the bottom stays soggy without it.
If you fix these five things, you’ll solve roughly 90 percent of soggy air fryer results. The remaining causes (liners, grease film, food-specific mistakes, hardware failure) are below.
The Science: What Actually Makes Air Fryer Food Crispy
Crispiness isn’t a mystery. It’s two specific things happening at the same time on the surface of your food.
The first is the Maillard reaction – a chemical browning that kicks in when amino acids and sugars on the food surface hit temperatures above roughly 300F (150C). This is what gives seared steak, toasted bread, and golden fries their color and flavor. It only happens on a dry surface. If there’s water sitting on the food, the surface temperature stalls near 212F (100C) – hot enough to steam, not hot enough to brown.
The second is rapid moisture removal. Air fryers work by blasting very hot air (typically 375-400F / 190-204C) over the food with a high-speed fan. That fan pulls water vapor off the surface faster than an oven can, which is why air fryers can rival deep fryers without submerging food in oil. But this only works if the air can actually reach the food.
So when your air fryer food isn’t getting crispy, one of these two things is being blocked: either the air can’t reach the surface (overcrowding, liners, grease film), or the surface is too wet for browning to start (skipped drying step, frozen food straight from the bag, sauce dripping). Every fix in this guide attacks one of those two blockages.
Cause vs Symptom vs Fix: Quick Diagnostic Table
Before we dive into each cause, here is the table I wish I’d had when I first started using an air fryer. Find your symptom, then jump to the matching fix.
| Symptom You’re Seeing | Likely Cause | Fastest Fix |
|---|---|---|
| Food is pale and soft all over | Overcrowding + low temp | Single layer, 400F (204C) |
| Top is golden but bottom is soggy | Not shaking or flipping | Shake basket at halfway mark |
| Fries are limp and bendy | Surface moisture | Pat dry with paper towel before cooking |
| Chicken skin is rubbery, not crackly | No oil, or oil on basket | Light oil mist directly on skin |
| Used to crisp, now doesn’t | Grease film on crisper plate | Hot wash + dry the plate fully |
| Parchment went soggy and food steamed | Liner covering full basket floor | Use perforated liner, or skip |
| Leftovers come out soft then go limp fast | Reheated too cool, too long | Two-step reheat: 250F then 400F |
| Nothing works, machine smells hot | Fan or heating element failing | Stop and contact manufacturer |
Cause #1: Overcrowding Blocks Airflow
Overcrowding is the number-one reason air fryer food comes out soggy. Every air fryer relies on a fast-moving column of hot air sweeping over the food. Pile food in layers or pack it shoulder-to-shoulder, and that air just bounces off the top of the pile while the bottom steams in its own moisture.
The Reddit air fryer community – over 200,000 members strong – surfaces this complaint more than any other. The most upvoted reply on the “Food not crispy” thread reads: “If you put everything in at once then that will be the issue. Overcrowding resulting in lack of airflow and moisture from the various items.”
The fix
Cook in a single layer with a small gap between every piece. If you’re feeding a crowd, run two or three batches instead of doubling the basket load. The extra five minutes is worth it – you trade quantity for the actual crisp the air fryer is designed to deliver.
A useful test: you should be able to see the basket floor between the food. If you can’t, you have too much in there.
Cause #2: Surface Moisture Prevents Browning
Water is the enemy of browning. If your food goes into the basket wet – whether it’s washed chicken, thawed frozen food with frost crystals, or potatoes that just came out of a soak – the surface will steam instead of sear. Steam tops out around 212F (100C), well below the threshold where browning starts.
This is why patting dry is non-negotiable. Even five minutes under a paper towel can lift the surface temperature enough for the Maillard reaction to actually begin.
The fix
Pat every piece dry with a paper towel before it goes in. For fresh-cut fries, soak the potatoes in cold water for 20-30 minutes to draw out starch, then dry them thoroughly – wet fries are the most common soggy-fries complaint. For chicken, salt it and let it rest on a rack for 15 minutes; the salt pulls surface moisture to the towel. For frozen foods, shake off any loose ice crystals before they hit the heat.
A Facebook air fryer owner put it bluntly: “I soaked them in hot water, dried them well, then 400F” – and the result was finally a proper crisp. That single drying step solved what extra temperature could not.
Cause #3: Temperature Is Too Low (or You Skipped Preheat)
Air fryers lose heat the moment you open them, and they recover slowly. If you put frozen food into a cold basket, the first three minutes cook at 250-280F instead of 400F – and during those minutes, the surface gets steamed rather than seared. By the time the basket catches up to temperature, the food has already given up its moisture into the cooking chamber.
Skipping preheat is one of the most common beginner mistakes. Trusting the preset is another – some manufacturers default to 350F (177C) for safety reasons, not for crispiness.
The fix
Preheat for 3-5 minutes at your target temperature before adding food. For most savory items, that target is 400F (204C). For delicate items like fish or vegetables, drop to 375F (190C). If your preset is lower, override it manually.
A reliable food thermometer is the single best accessory for dialing this in – the basket air temperature is not always what the display says. An instant-read probe that costs less than a takeout meal will save you months of guesswork.
Cause #4: Oil Misuse – Too Much, Too Little, or Wrong Application
Here’s the part most guides get wrong: air fryers need oil, just less of it than deep frying. A light coating – half a teaspoon to one teaspoon per batch – is what gives the Maillard reaction the fat it needs to brown properly. Zero oil gives you rubbery, pale results on proteins and starches.
But the way you apply oil matters as much as the amount. Spraying oil into an empty basket just coats the basket, not the food. The Reddit refrain is right: “Spray oil directly on food, not in the basket.”
The fix
Use an oil mister and mist the food directly – one or two pumps per side, enough to glisten, not drip. Avocado oil and refined olive oil both have high smoke points (above 400F / 204C) and won’t burn. Butter smokes too low; skip it for high-heat crisping.
If you’re trying to keep calories down, focus the oil on the parts that actually need browning – the skin on chicken, the surface of fries, the breading of breaded items. Vegetables and tofu can get away with almost none.
Cause #5: Not Shaking or Flipping Halfway
The bottom of food is always closer to the heating element and the basket floor, which means it both cooks faster and traps more steam. If you don’t shake the basket or flip the food at the halfway mark, the underside can go from golden to soggy as it sits in its own released moisture.
Manufacturer guidance is consistent here. Philips recommends shaking two to three times during cooking for most foods; most Ninja and Cosori manuals say the same.
The fix
Shake the basket at the halfway mark – or flip individual pieces with tongs if you’re cooking something like chicken thighs or fish fillets that shouldn’t be tossed around. For long cooks (over 15 minutes), a second shake at the three-quarter mark helps even more.
If shaking is impractical because you’re cooking something delicate, set the food on a raised crisper rack so air can reach the bottom directly.
Cause #6: Parchment Liner or Foil Blocking Airflow
Parchment liners are useful – they keep cheese and sauce from welding to the basket. But a full sheet of parchment covering the entire basket floor cuts off the air supply from below. The food then sits on a flat sheet of trapped steam and never sees the airflow it needs to crisp.
This is one of the most common beginner mistakes. The liner looks like it’s helping because nothing sticks – but the food comes out pale and soft, and users assume the air fryer is broken.
The fix
Use perforated parchment liners with holes that let air pass through, or skip the liner entirely. If you do use parchment, weigh it down with food so it doesn’t fly into the heating element. Never preheat an empty air fryer with parchment inside.
Same rule applies to aluminum foil: punch holes, leave most of the basket floor exposed, and weigh it down with food.
Cause #7: Hidden Grease Film on the Crisper Plate
Air fryers that “used to crisp but don’t anymore” almost always have a thin, invisible grease film on the crisper plate or basket floor. After dozens of cooks, polymerized oil builds up into a tacky layer that holds moisture against the food instead of letting it evaporate. The fan still blows, but the food sits in a thin film of trapped steam.
This is the cause most troubleshooting guides miss. It’s silent, it’s invisible, and it explains the “all of a sudden” version of the complaint – your air fryer worked great until it didn’t.
The fix
Deep-clean the crisper plate and basket every two to four weeks, depending on use. Soak them in hot water with a degreasing dish soap, scrub with a non-abrasive sponge, and dry completely before reassembling. For stubborn buildup, a paste of baking soda and water left on for 15 minutes loosens polymerized oil without damaging the non-stick coating.
If your crisper plate is warped, no amount of cleaning will fix it – the warped metal traps steam in low spots. Replace the plate. Most manufacturers sell replacements.
Cause #8: Food-Specific Mistakes – Frozen vs Fresh vs Reheating
Not all air fryer food follows the same rules. Frozen fries, fresh-cut fries, chicken wings, vegetables, and reheated leftovers each want different temperatures, times, and prep. Treating them as interchangeable is where most people get stuck.
Frozen fries
Straight from the freezer to a preheated 400F (204C) basket, 12-18 minutes, shaking twice. Don’t thaw first – the frost crystals will steam the basket.
Fresh-cut fries
Soak in cold water 20-30 minutes, dry thoroughly, light oil, then 400F (204C) for 18-25 minutes, shaking two or three times. Fresh fries need more time than frozen because they start denser and wetter.
Chicken wings and skin-on chicken
Pat dry, salt, rest 15 minutes. For extra crispy skin, dust with a thin coating of cornstarch or baking powder (see bonus tips below). 380-400F (193-204C) for 20-25 minutes, flipping once.
Vegetables
Dry, single layer, 380F (193C) for 8-12 minutes. Don’t overcrowd – broccoli and Brussels sprouts steam quickly.
Reheating leftovers
This is the one that frustrates almost everyone. The two-step reheat method works: cook at 250F (121C) for 3-4 minutes to drive off stored moisture, then bump to 400F (204C) for 2-3 minutes to recrisp the surface. Going straight to 400F from the fridge just burns the outside while the inside warms.
Bonus Tips for Extra-Crispy Results
Once you’ve got the basics locked in, two pro techniques push results another level.
Cornstarch or baking powder trick for chicken skin
A very light dusting of cornstarch – or baking powder, not baking soda – on dry chicken skin helps draw out remaining moisture and raises the surface pH, both of which accelerate browning. The result is crackling, glass-like skin that shatters when you bite it. Use about one tablespoon per pound of chicken, rub it in, and let it rest 10 minutes before cooking.
Dry brining overnight
For thick proteins like chicken thighs, pork chops, or even tofu, salt them the night before and leave them uncovered on a rack in the fridge. The salt seasons all the way through and dries the surface so completely that the Maillard reaction kicks in within the first two minutes of cooking. This is the technique restaurants use to get reliable crispy exteriors.
Accessories That Help You Nail Crispy Results
You don’t need much, but a few small tools make the difference between “usually crispy” and “always crispy.”
- Instant-read thermometer – confirms preheat temperature and doneness without guessing.
- Oil mister – applies a fine, even coat of oil without drenching the food.
- Perforated parchment liners – prevents sticking without blocking airflow.
- Raised crisper rack – gets air under the food for items you can’t shake.
- Silicone-tipped tongs – flips delicate items without scratching the non-stick coating.
None of these are expensive. A full kit costs less than a single takeout dinner and lasts for years.
When to Stop Troubleshooting and Check the Machine
Most soggy results are user error. But some symptoms mean the machine itself needs attention. Stop using the air fryer and contact the manufacturer if you notice any of the following:
- Burning smell that doesn’t fade – the heating element may be failing.
- Sparks or visible arcing – internal wiring issue, do not continue.
- Fan sounds weak or rattling – motor failure can mean uneven cooking and overheating.
- Unit takes more than 10 minutes to reach 400F – heating element is underperforming.
- Plastic smell at normal cooking temperatures – internal insulation breaking down.
These are rare but worth knowing. A trusted manufacturer support line will often replace a unit under warranty rather than have you troubleshoot endlessly. For an authoritative troubleshooting reference, your brand’s own support site (Philips, Ninja, Cosori, Instant Pot) usually has model-specific guidance that generic guides cannot match.
Frequently Asked Questions
Why is my air fryer food not getting crispy?
Air fryer food fails to crisp when hot air can’t reach the food surface, when the surface is wet, or when the temperature is too low. Cook in a single layer, pat food dry before it goes in, preheat the basket to 400F (204C), mist the food directly with a light oil coating, and shake the basket at the halfway mark. These five fixes solve roughly 90 percent of soggy results.
What is the trick to getting things extra crispy with an air fryer?
For extra-crispy results, dry brine proteins overnight in the fridge, dust chicken skin with a thin coating of cornstarch or baking powder, preheat the basket fully before adding food, and finish at 400F (204C). A two-step reheat at 250F then 400F restores crispness to leftovers without burning the outside.
How do I make frozen food crispy in the air fryer?
Cook frozen food straight from the freezer – don’t thaw, as frost crystals will steam the basket. Preheat for 3-5 minutes at 400F (204C), add the food in a single layer, and shake the basket at the halfway mark. Most frozen fries take 12-18 minutes; chicken nuggets and similar items take 8-12 minutes.
What setting on an air fryer makes food crispy?
The setting that makes food crispy is 400F (204C) for most savory items, with a 3-5 minute preheat. Delicate items like fish and vegetables do better at 375F (190C). Avoid trusting default presets – many default to 350F (177C) for safety, which is too low for proper browning.
Why is my air fryer food not crispy after reheating?
Reheated leftovers go soft because going straight to high heat burns the surface while the inside stays cool. Use the two-step method instead: cook at 250F (121C) for 3-4 minutes to drive off stored moisture, then bump to 400F (204C) for 2-3 minutes to recrisp the surface.
Why are my frozen fries soggy in the air fryer?
Frozen fries turn out soggy when the basket is overcrowded, when the temperature is too low, or when there is too much frost on the fries when they go in. Shake off loose ice crystals, preheat to 400F (204C), cook in a single layer, and shake the basket twice during cooking. Most brands crisp in 12-18 minutes.
Does parchment paper make air fryer food less crispy?
A full sheet of parchment paper blocks airflow from below and makes food less crispy by trapping steam. Use perforated parchment liners with holes for airflow instead, or skip the liner entirely. Never preheat an empty air fryer with parchment inside – it can fly into the heating element.
The Crispy Recipe: A Routine You Can Repeat Every Time
If you remember nothing else from this guide, remember this five-step routine. It works for frozen fries, fresh fries, chicken, vegetables, and reheated leftovers.
- Preheat the air fryer at 400F (204C) for 3-5 minutes.
- Dry the food with a paper towel.
- Oil lightly – one or two mists of avocado oil directly on the food.
- Single layer in the basket, with visible gaps.
- Shake or flip at the halfway mark, then finish.
Run through that checklist every time and your air fryer will do what it was designed to do. The next time someone asks why is my air fryer food not getting crispy, send them here – the answer almost always lives in those five steps.