
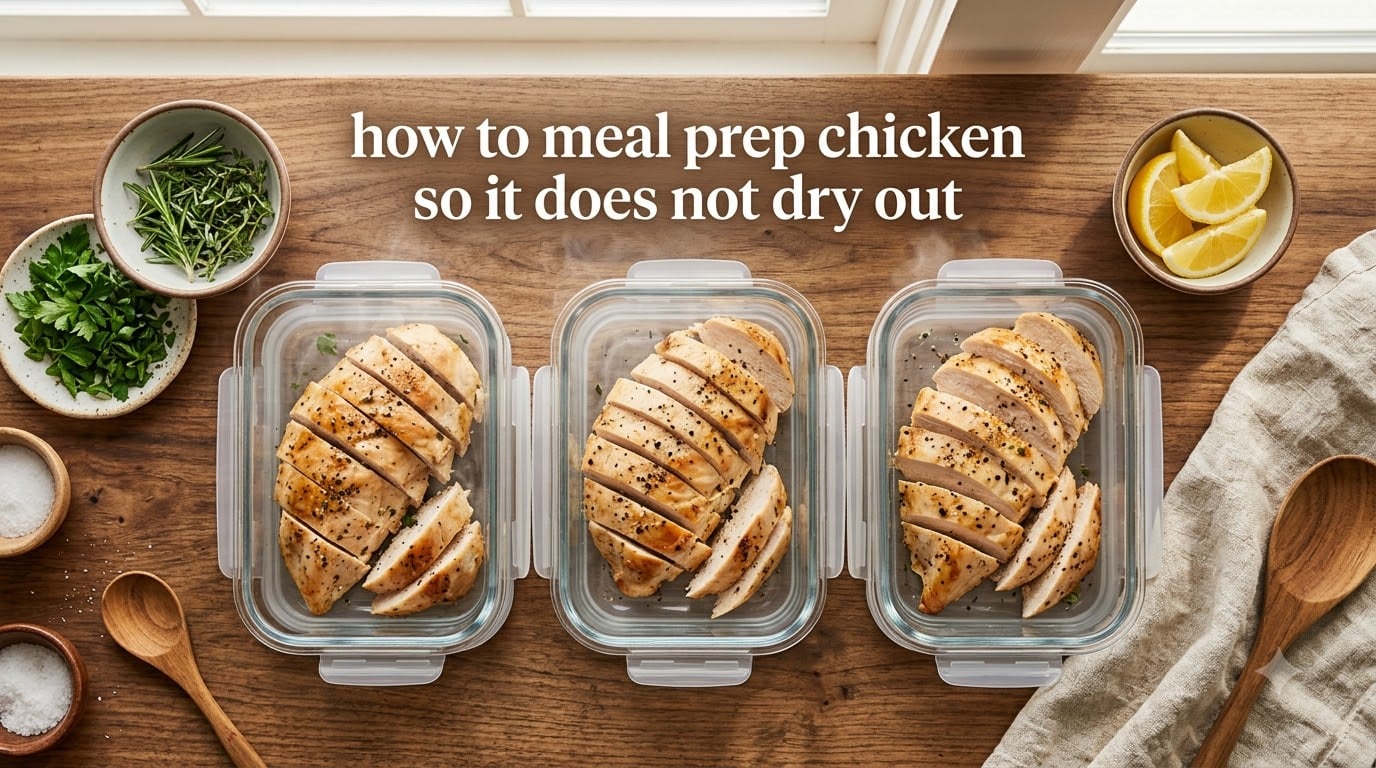
If you have ever opened a meal prep container on Wednesday and found a sad, rubbery chicken breast staring back at you, you are not alone. I have cooked roughly 200 pounds of chicken over the last three years for weekly meal prep, and dry chicken used to be my default. The good news: fixing this is mostly about understanding what is happening inside the meat, then changing five things in your routine.
This guide on how to meal prep chicken so it does not dry out pulls together kitchen science, USDA safety guidance, and real results from batch cooking sessions at home. You will learn why chicken loses moisture, the exact internal temperature to pull it at, how to brine properly, and how to store and reheat it without ending up with that cardboard taste by day three.
Table of Contents
Why Does Meal Prep Chicken Get Dry?
Chicken gets dry because of protein science. Chicken breast is roughly 75 percent water held inside a web of two key proteins: myosin and actin. As the meat heats up, these proteins unwind (a process called denaturation) and squeeze tight against each other, like a fist closing around a wet sponge.
Up to about 150 degrees Fahrenheit, the proteins are relaxed and the meat stays juicy. Past that point, the squeeze begins. By 165 degrees, the muscle fibers have contracted so much that they have pushed a serious amount of free water out of the tissue. That water either evaporates off your pan or pools at the bottom of your container by Wednesday. Either way, your chicken ends up dry.
Three things make this worse during meal prep. First, most home cooks pull chicken at 165 to 170 degrees because that is the long-standing USDA number, but modern food safety science shows 155 degrees with a proper rest is equally safe. Second, chicken breast is lean to begin with, so there is very little fat to mask overcooking. Third, the reheating step on day two or three applies more heat to already-cooked protein, which causes further moisture loss and a stale, “cardboard” taste that forum users on r/mealprep complain about constantly.
Quick definition: Protein denaturation is the unfolding of tightly wound protein strands when heated, which is what makes eggs go from clear to white and what causes chicken to firm up as it cooks.
The 5 Fixes That Keep Chicken Juicy All Week
After running dozens of batch cooks, here are the five changes that moved my chicken from forgettable to genuinely juicy. I have ranked them by how much they actually matter. The first one fixes more problems than the other four combined.
Fix 1: Pull Chicken at 155 Degrees Fahrenheit, Not 165
This is the single biggest lever. Pulling chicken at 155 degrees and letting it rest for 5 to 10 minutes carries the temperature up another 5 to 10 degrees through carryover cooking, landing it safely in the 160 to 165 range while the proteins are still relaxed. Result: noticeably juicier breast with no safety trade-off. I started doing this in early 2026 after reading about time-and-temperature pasteurization, and the difference in texture was instant.
Fix 2: Dry Brine for 30 to 60 Minutes Before Cooking
Sprinkle kosher salt (about half a teaspoon per pound) evenly over the chicken and let it sit uncovered in the fridge. The salt dissolves, soaks in, and unwinds the protein strands so they hold more water instead of squeezing it out. A dry brine is better than a wet brine for meal prep because the surface stays dry, which means better browning and no extra waterlogging. Reddit users in r/MealPrepSunday report the same results.
Fix 3: Pound the Breast to Even Thickness
A breast is naturally thick on one end and thin on the other. The thin end reaches 155 in half the time of the thick end, so by the time the center is cooked, the thin part is overcooked and dry. Place the breast in a zip-top bag and pound it to a uniform three-quarter inch thickness with a rolling pin. Even cooking, no dry tips.
Fix 4: Rest the Chicken Before Slicing
When you slice right out of the oven, the juices run out onto the cutting board because the proteins have not yet relaxed. Five to ten minutes of resting redistributes the moisture back through the meat. Skip this step and you lose a surprising amount of moisture before the chicken ever reaches the container.
Fix 5: Store Whole With a Splash of Broth
Slice your chicken only when you reheat it, not during prep day. Whole breasts lose moisture far more slowly than slices, because there is less exposed surface area. Add two tablespoons of chicken broth or even just salted water to each container before sealing. The liquid creates steam during reheating and stops the meat from drying out.
Ranked summary of impact per fix:
- Fix 1 (Pull temp): Highest impact, takes 1 second, costs nothing
- Fix 2 (Dry brine): High impact, takes 5 minutes plus fridge time
- Fix 3 (Pound): Medium-high impact, takes 1 minute per breast
- Fix 4 (Rest): Medium impact, requires patience only
- Fix 5 (Store whole): Medium impact, requires planning ahead
Pull Temperature Guide: 155F vs 165F
The USDA recommends 165 degrees Fahrenheit as a final internal temperature, and that is what most cookbooks repeat. The full picture is more forgiving. USDA’s own data, and the food safety research behind it, show that chicken is safely pasteurized at any combination that hits 155 degrees held for about 50 seconds or 150 degrees held for about 3 minutes. Both timelines are met easily during a normal rest off the heat.
Why does this matter for meal prep? Because the texture gap between 155 and 165 is enormous. At 155, the myosin has just begun to set and the meat still feels tender. At 165, the proteins have tightened enough to push out roughly 10 to 15 percent of their internal water. On a single dinner, you might not notice. Across five days in a fridge, the cumulative moisture loss is what produces the dreaded “rubber chicken” feel.
Direct answer for the common question: Pull chicken breast at 155 degrees Fahrenheit, rest 5 to 10 minutes, and it finishes safely past 160 with carryover heat. Use a leave-in probe thermometer for accuracy. Thighs need to reach 175 because of their connective tissue, but that extra fat keeps them juicy anyway.
Brining Techniques: Dry Brine vs Wet Brine
Brining is the practice of soaking or salting meat so the proteins hold on to more water during cooking. Two main methods work for chicken breast.
Dry Brine (Best for Meal Prep)
Salt the raw chicken evenly and leave it uncovered in the fridge for 30 minutes to overnight. The salt pulls some liquid out of the meat, then that liquid dissolves the salt and gets pulled back in, carrying it deep into the muscle. The proteins restructure to hold up to 20 percent more water than they would otherwise. The surface dries out slightly, which gives you a much better sear or roast color. This is the technique professional kitchens prefer, and it lines up with what r/mealprep users recommend for Sunday prep.
Wet Brine (Good but Slower)
Dissolve a quarter cup of kosher salt per quart of water, submerge the chicken for 1 to 4 hours. This works, but it adds water weight, requires large containers, and leaves the chicken wetter on the outside, so browning suffers. Useful for holiday roasts, less useful for weekly meal prep.
The Baking Soda Trick
Some forum cooks on r/Fitness and cheapmealideas groups mention adding a quarter teaspoon of baking soda to the dry brine. The baking soda raises the pH of the meat surface, which keeps proteins from bonding as tightly. It works, but use it sparingly and rinse the chicken off before cooking to avoid a soapy aftertaste.
Salting rule of thumb: half a teaspoon of kosher salt per pound of chicken, applied 30 minutes or more before cooking. Table salt is denser, so use a quarter teaspoon per pound instead.
Pounding and Prep: Getting Even Thickness
Chicken breast is not a uniform shape. The thick center can be nearly twice as tall as the tapered tail. That geometry means uneven cooking on a hot pan or sheet tray. The thin tail overcooks while you wait for the thick middle to come up to temp, and you end up with both dry edges and uneven doneness.
The fix is mechanical. Place the breast between two pieces of plastic wrap or inside a gallon zip-top bag. Use a rolling pin, meat mallet, or even a heavy skillet to gently pound the breast to a uniform three-quarter inch thickness. Ten to twenty seconds per breast does the job. If you prefer not to pound, you can butterfly the breast by halving it horizontally, then open it like a book. Either method evens out the cooking time.
Storage Methods: Whole vs Sliced
How you store meal prep chicken matters as much as how you cook it. Two decisions drive the final result: should you slice before storing, and what should you store it in.
Whole Breasts Stay Juicier
Each slice you cut exposes more surface area, and that surface dries out faster than the center. Whole or halved breasts hold moisture across all four days of fridge storage. If you want pre-sliced portions for salads or bowls, slice after reheating, not before. It takes 30 seconds and the texture difference is obvious.
Add Broth or Cooking Liquid
Two tablespoons of low-sodium chicken broth in the bottom of each container creates a small steam bath during reheating. The steam keeps the surface of the meat from drying out and adds flavor back in. Water with a pinch of salt works almost as well if you do not have broth on hand. This single trick is what fixed my “chicken gets dry by day three” problem.
Use Glass Containers When Possible
Glass does not absorb odors, holds temperature better, and reheats more evenly in a microwave. Plastic is fine for fridge storage, but switch to a plate or bowl when reheating so the plastic does not leach into hot food.
How Long Does Meal Prep Chicken Last?
USDA guidelines say cooked chicken is safe in the fridge for 3 to 4 days. Day 5 is past the recommended window. That answer is straightforward, but the texture reality is that chicken starts to lose quality by day 3 even when it is still safe. Plan your prep with this in mind: cook Sunday for Monday through Wednesday meals, and switch to a fresh batch for Thursday and Friday.
Reheating Without Drying Out
Reheating is where most of the moisture loss happens, and where that cardboard flavor creeps in. The trick is low, gentle heat and a little moisture.
Low Oven Method (Best for Meal Prep)
Preheat to 275 degrees Fahrenheit. Place chicken in an oven-safe dish with two tablespoons of broth, cover loosely with foil, and heat for 12 to 18 minutes depending on thickness. The foil traps steam and the low temperature prevents the proteins from tightening up further. This method reliably produces the closest result to fresh-cooked chicken.
Microwave With a Damp Paper Towel
Place the chicken on a plate, lay a damp paper towel over it, and microwave at 50 percent power in 60-second bursts. The paper towel creates steam and the half-power setting prevents the outer layers from overcooking while the center warms up. Power level matters more than people think.
Stovetop Steam
Slice the chicken, set it in a skillet with a splash of broth, cover, and warm over medium-low heat for 4 to 5 minutes. This works especially well when you plan to add the chicken to pasta, rice bowls, or wraps, because the slices absorb the pan sauce.
Why Does Reheated Chicken Taste Like Cardboard?
That stale flavor is called warmed-over flavor, and it is a real chemical reaction. When cooked chicken cools, the fat in the meat oxidizes and breaks down into aldehydes and ketones that smell and taste stale. The reaction speeds up during the second round of heating. Storing with broth slows it down because the added liquid reduces oxygen contact with the surface fat, which is one of the reasons the broth trick works on multiple fronts.
Should You Switch to Thighs?
Chicken thighs are more forgiving than breasts for meal prep, mostly because they are built differently. More fat, more connective tissue, more flavor, and a wider safe window because the fat keeps the meat from tightening up at higher temperatures. If you are tired of dry breast or you keep hitting the same moisture problem, switching to thighs is a real option, not a compromise.
Quick comparison for meal preppers:
- Chicken breast: 31 g protein per 100 g, 165 cal, 3.6 g fat, lean, pull at 155 degrees, easy to overcook
- Chicken thigh: 26 g protein per 100 g, 209 cal, 10.9 g fat, richer, pull at 175 degrees, very hard to overcook
If your goal is high-protein, low-fat meals, breast wins on paper. If your goal is chicken that tastes good through day four with less fuss, thigh wins in the kitchen. The fitness-focused forums on r/Fitness lean toward breast for macros; r/mealprep cooks who have tried both tend to recommend thighs for anyone not tracking protein tightly.
Step-by-Step Sunday Meal Prep Walkthrough
Here is the exact sequence I run every Sunday for 4 days of chicken.
Step 1: Salt the Chicken First Thing
Pull 2 to 3 pounds of breast out, pat dry, and apply half a teaspoon kosher salt per pound, distributed evenly. Set on a rack over a sheet pan, uncovered, back in the fridge. Plan on at least 30 minutes, longer is fine.
Step 2: Pound and Season
While the oven preheats to 400 degrees, pound each breast between plastic wrap to a uniform three-quarter inch. Add pepper, garlic powder, paprika, or any neutral seasoning. Save strong marinades for variety after reheating.
Step 3: Roast to 155 Internal
Lay breasts on a parchment-lined sheet pan, slide into the oven, and roast for 18 to 22 minutes depending on thickness. Start checking at 15 minutes with an instant-read thermometer. Pull as soon as the center hits 154 to 155. Carryover will land it right where you want it.
Step 4: Rest 8 Minutes
Move the breasts to a cutting board and let them rest uncovered. Do not slice. The juices redistribute through the meat and the temperature climbs 5 to 10 more degrees.
Step 5: Portion Into Containers Whole
Add 2 tablespoons of broth to each container, place one or two whole breasts in each, seal, and refrigerate. Label with the day if you rotate batches across the week.
Step 6: Slice When You Eat
Slicing happens at lunchtime or dinnertime, not on prep day. Slide the breast onto a hot pan with a splash of broth or onto the top of a rice bowl, slice against the grain, and serve.
This routine takes roughly 45 minutes of active work and produces four days of genuinely juicy chicken. It is the only meal prep system I have stuck with long-term, and it is built on the five fixes above plus this final coordination step.
Frequently Asked Questions
Can meal prep chicken really last 5 days?
USDA guidelines say cooked chicken is safe in the fridge for 3 to 4 days, so day 5 is past the recommended window. If you want prep that lasts all five weekdays, cook two smaller batches instead of one large batch and use the second batch for days 4 and 5.
Why does reheated chicken taste like cardboard?
That stale flavor is called warmed-over flavor, caused by oxidation of the fat in the cooked meat. It shows up after refrigeration and gets stronger with each reheating. Storing chicken with a splash of broth slows the reaction because the liquid reduces oxygen contact with the surface fat.
Should I marinate chicken before cooking for meal prep?
Yes for flavor, but keep the salt component separate. A dry brine of 30 to 60 minutes gives you the moisture benefit, and you can add an acidic marinade for taste after cooking or just before reheating. Acidic marinades applied before cooking can make the surface mushy.
How do restaurants keep their chicken so moist?
Restaurants use two main tricks: they pull chicken at lower internal temperatures and they rest the meat longer before slicing. Brining, either dry or wet, is standard for chicken breast in most professional kitchens, especially for higher-volume service.
Final Thoughts
If you remember nothing else from this guide on how to meal prep chicken so it does not dry out, remember the five fixes in this order: pull at 155 degrees, dry brine for 30 to 60 minutes, pound to even thickness, rest before slicing, and store whole with broth. Each one stacks on the last, and together they fix about 90 percent of the dryness problem.
The science is simple once you see it. Chicken dries out when protein fibers squeeze out water past 155 degrees. Stay below that threshold with carryover, rest the meat to redistribute moisture, and you have a week of juicy chicken that actually tastes good on Wednesday. Try the changes this Sunday and you will feel the difference on day three.