
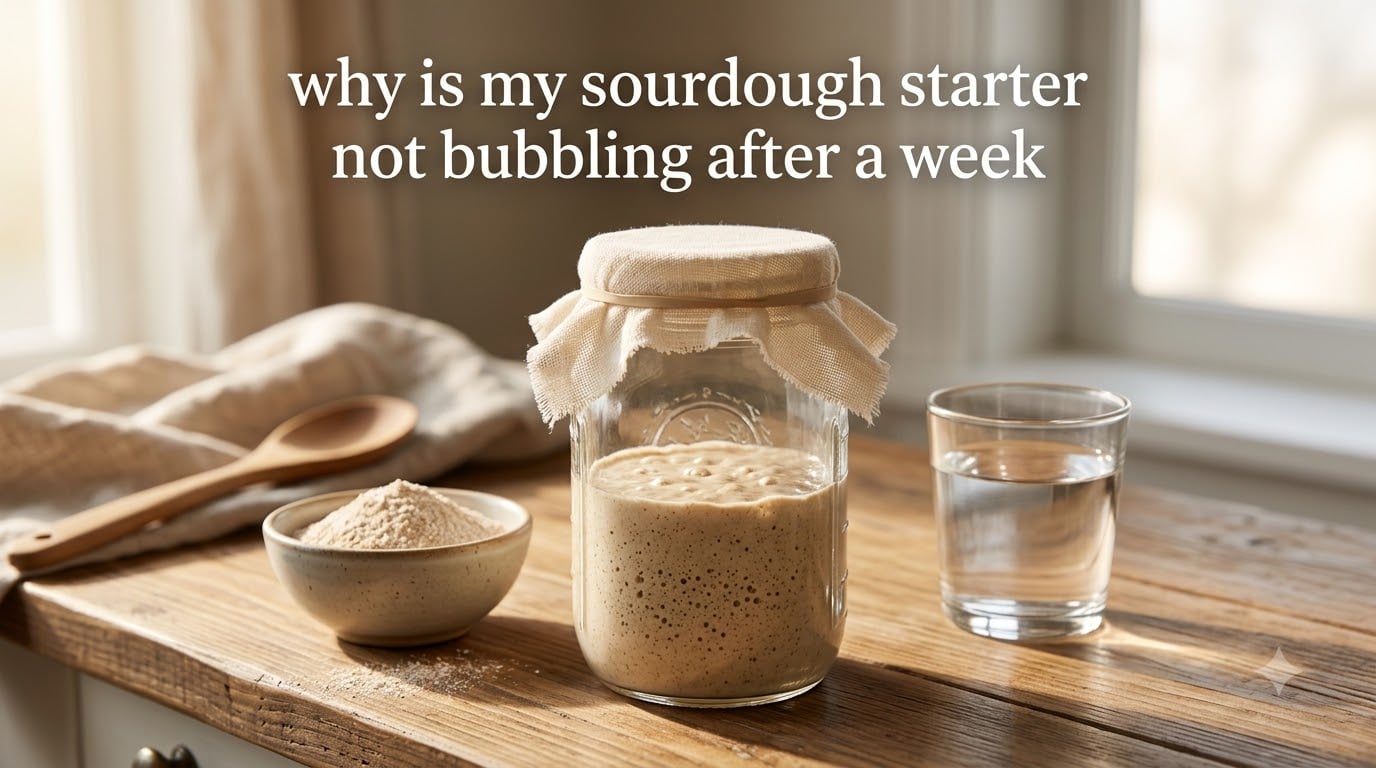
If your sourdough starter is not bubbling after a week, you are not failing, and your starter is almost certainly not dead. A new starter typically takes 7 to 14 days to develop enough wild yeast and lactic acid bacteria to rise reliably, and most beginners hit a quiet “dormant plateau” right around day 5 to day 7. This guide walks you through the day-by-day timeline, the seven most common reasons for a quiet starter, and the exact fixes that get things bubbling again. By the end, you will know whether to keep waiting, change something, or start over.
I have built dozens of starters in cold kitchens, warm apartments, and everything in between, and I can tell you from experience: the week-one slump is the single most common sourdough frustration on Reddit and home baking forums. The good news is that almost every quiet starter is fixable with a small change to temperature, ratio, flour, or water. Let’s get yours working again.
Table of Contents
Quick Answer: Is a Week-Old Sourdough Starter Without Bubbles Normal?
Yes, a sourdough starter not bubbling after a week is completely normal. A healthy starter typically shows a burst of activity on days 1 to 3 (the “false rise” caused by undesirable bacteria), then goes quiet for several days while the wild yeast colony establishes itself. Reliable doubling usually appears between day 7 and day 14, and sometimes not until day 21 to 30. If your starter has no funky smell, no mold, and you have been feeding it once a day at room temperature, it is almost certainly just immature.
The reason most bakers panic is that the early burst of activity looks like success, then disappears. According to experienced bakers on Reddit’s r/Sourdough, that early burst is not yeast, it is bacteria that the yeast will eventually suppress. Once the yeast catches up, the bacteria quiet down, and you enter the dormant plateau where you are right now.
If you are seeing any of the following, your starter is alive and on track:
- A tangy, yogurty, or faintly vinegary smell (not rotten or chemical)
- Some bubbles clinging to the sides or bottom of the jar
- A thin layer of liquid on the surface (hooch), especially if you missed a feed
- No fuzzy mold (white, pink, orange, or black)
The Day-by-Day Timeline: What a Healthy Starter Looks Like From Day 1 to Day 14
One thing no competitor article gives you is a clear day-by-day picture. Here is exactly what to expect at room temperature (around 70 to 75°F / 21 to 24°C) with a daily 1:1:1 feed.
Day 1 to Day 2: Mixing and the False Rise Begins
You mix equal weights of flour and water, and within a few hours you start seeing bubbles. This feels exciting. It is also misleading. The first burst of activity on day 1 to day 3 is caused primarily by bacteria already present in your flour and on your hands, not by a stable wild yeast colony. Bakers call it the “false rise.”
Day 3 to Day 4: Peak False Rise and First Sour Smell
The starter may double in size, smell yeasty, and look like it is ready to bake bread. This is the peak of the false rise. Around day 3 or 4, the bacteria start producing enough lactic and acetic acid to drop the pH. You will notice a tangy smell, and the bubbles will begin to slow.
Day 5 to Day 7: The Dormant Plateau (This Is Where Most Bakers Panic)
Activity drops sharply. The starter may look flat, smell strongly acidic, and may form a layer of dark liquid (hooch) on top. This is exactly where you are right now. The bacteria have suppressed the wild yeast enough that the false rise has ended. The yeast colony is now small and needs time to multiply. Do not throw it out. Do not double the feeding. Just keep feeding once a day at room temperature and wait.
Day 8 to Day 10: Yeast Catches Up, Modest Bubbles Return
Around day 8 to 10, the yeast has multiplied enough to compete with the bacteria. You will start seeing smaller, tighter bubbles, a milder tang, and a slow rise that may not quite double. This is real activity, and it is the signal that your starter is maturing.
Day 11 to Day 14: Reliable Doubling, Ready for a Test Bake
A mature starter doubles predictably in 4 to 8 hours after a feeding at room temperature. It smells pleasantly tangy, has a stretchy dome when it peaks, and deflates slowly. By day 14, most healthy starters are strong enough for a small test bake. If you started with whole-grain or rye flour, you may see this earlier (day 7 to 10). If you started with bleached all-purpose, expect day 14 or later.
Top 7 Reasons Your Sourdough Starter Is Not Bubbling After a Week
These are the seven causes that come up over and over on Reddit, Breadtopia, and in King Arthur’s troubleshooting guides. Check them in order, and you will almost certainly find your answer.
1. It Simply Needs More Time
It needs more time. A brand new starter has not yet built a stable colony of wild yeast and lactic acid bacteria strong enough to produce visible gas. Most starters take 7 to 14 days to reliably double, and a meaningful percentage take 21 to 30 days. If you are at day 7 with no mold, no rot, and a mild tangy smell, the most likely answer is that your starter is on a slower-than-average timeline and just needs more days. The Sourdough Journey puts it simply: “Be patient. Sourdough starters take some time to mature.”
2. The False Rise Ended (This Is Not a Failure)
The false rise passed. The early burst of activity on days 1 to 3 is not yeast rising, it is undesirable bacteria consuming easy sugars. As the acids build up, that bacterial activity drops and your starter looks “dead.” It is not dead. It is in the natural dormant phase between the false rise and the real rise. Keep feeding daily, and the yeast colony will catch up.
3. Your Kitchen Is Too Cold
Temperature matters. Wild yeast works best between 75 to 82°F (24 to 28°C). A kitchen at 65°F (18°C) or below will slow yeast activity to the point where a week-old starter looks completely flat. If your kitchen runs cool, you have a starter that is alive but cold, not dead. Move it to the top of the fridge, on a heating pad set to low, or inside the oven with just the light on.
4. You Are Overfeeding or Underfeeding
You are overfeeding. Every time you feed, you dilute the small yeast colony. A brand new starter has very little yeast mass, and if you feed it the same 1:1:1 ratio (by weight) twice a day before it can rise, you wash out the colony faster than it can grow. Either feed only once a day, or use a smaller feeding ratio (1:1:1 by weight but with very little starter, like 10g each), or wait until the starter shows visible activity before feeding again. The Breadtopia forum’s top advice: “Feed according to the strength of the starter. If it has bubbled up then feed. If not then wait till it does so.”
5. Your Flour Is Wrong (Bleached or Low-Protein)
You are using the wrong flour. Bleached all-purpose flour has fewer wild microbes and less mineral content than whole-grain or rye. New starters built on bleached AP often stall for 10 to 14 days before showing reliable activity. Switch to unbleached all-purpose, or better, a 50/50 blend of unbleached white and whole wheat or rye for the first week. The minerals and microbes on whole-grain flour give the wild yeast a real head start.
6. Your Water Is Chlorinated
Chlorine suppresses yeast. Most municipal tap water contains chlorine or chloramine, both of which slow or stall wild yeast. If your starter is stuck and everything else looks fine, switch to filtered, bottled, or spring water. The Sourdough Journey notes that chlorinated water is rarely fatal to a starter, but it can keep it dormant indefinitely. Letting tap water sit out overnight helps with chlorine but not chloramine, so a simple filter is the safer fix.
7. Contamination or Mold
Your starter is contaminated. True contamination is rare, but it does happen. Look for fuzzy growth in white, pink, orange, or black, or a smell that is unmistakably rotten (not just sour or vinegary). If you see or smell that, the starter is unsalvageable and should be discarded, the jar washed with hot soapy water, and you should start fresh with new flour and water. A sour, vinegary, fruity, or boozy smell is normal. A sewage or chemical smell is not.
Healthy vs Unhealthy Starter: A Week-1 Comparison
Use this quick reference any time you are unsure whether your starter is on track or in trouble. It captures the signs experienced bakers actually look at during the first 14 days.
| Sign | Healthy Starter (On Track) | Unhealthy Starter (Needs Attention) |
|---|---|---|
| Smell | Yogurty, tangy, faintly fruity, boozy, mildly vinegary | Rotten, sewage, chemical, ammonia, nail polish remover (acetone) |
| Surface | Bubbles of any size, dome-shaped rise, stretchy texture | Completely flat, no bubbles even after 24 hours |
| Liquid on top | Clear or amber hooch when hungry; stir back in or pour off | No hooch at all even when neglected, suggesting no activity |
| Mold | None | Fuzzy white, pink, orange, or black growth on surface or sides |
| Texture | Smooth, slightly stretchy, pancake-batter consistency | Watery, separated, or chunky with dry flour pockets |
| Rise after feeding | Slow but visible dome (1.25x to 2x) within 6 to 12 hours | Zero rise after 24 hours at room temperature |
| Color | Cream, beige, or light brown | Pink streaks, dark discoloration |
Temperature Troubleshooting: Warming Up a Cold Starter
Temperature is the single biggest variable you can control. If your kitchen is below 70°F (21°C), your starter may be alive but just too cold to show visible bubbles. Aim for 75 to 82°F (24 to 28°C) during the establishment phase. Here are five warming tricks that actually work, ranked from cheapest to most effective.
- Top of the fridge. The warm air rising off the condenser coils is usually 5 to 10°F warmer than the room. A free boost with no equipment.
- Oven with the light on. Many ovens hold 80 to 90°F with just the interior light. Loosely tent the jar with foil and close the door. Check the temp first with a thermometer, because some ovens run hotter.
- Warm water bath. Set the jar in a bowl of warm (not hot) water. Refresh the water every 4 to 6 hours. Ideal if you only need a short warm window.
- Sock wrap. An old cotton sock pulled over a glass jar traps warmth from the starter itself. Surprising how well this works for 8 to 12 hours.
- Heating pad on low. A seedling mat or human heating pad set to low, with a towel between the pad and the jar, gives steady 78 to 82°F overnight. The closest thing to a dedicated proofing box.
Once your starter is consistently doubling in 4 to 8 hours, you can let it cool back to room temperature. Many bakers keep their starter warmer for the first two weeks and then move it to a cooler spot once it is reliable.
Feeding Your Starter Right: Ratio, Frequency, and Flour Choice
Feeding is where most beginners go wrong, not because the concept is hard, but because the timing matters. Three rules cover 90% of week-one problems.
Rule 1: Use a 1:1:1 ratio by weight, not volume. One part starter, one part flour, one part water, all weighed on a kitchen scale. A typical feeding is 20g starter, 20g flour, 20g water. Scales are non-negotiable for sourdough, and the kitchen scale is the single most useful tool you will buy.
Rule 2: Feed once a day during the establishment phase. Twice-a-day feedings are for mature starters that have already peaked and fallen. A young starter with a tiny yeast colony cannot recover from being washed out twice in 24 hours. Once your starter reliably doubles in less than 8 hours, you can move to twice-a-day feedings.
Rule 3: Use unbleached flour, ideally with some whole-grain. Unbleached all-purpose works, but a 50/50 blend of unbleached white and whole wheat or rye flour gives the wild yeast more minerals, more natural microbes, and a faster start. Once the starter is reliable, you can switch to cheaper flour if you want.
For water, use filtered or bottled water if your tap is heavily chlorinated. Otherwise, room-temperature tap water is fine for most bakers.
When to Wait, When to Troubleshoot, and When to Start Over
This is the question every new sourdough baker asks at some point, and it is the question no competitor article answers clearly. Here is the simple decision tree I use and recommend to anyone I teach.
Wait (do nothing different) if:
- Day 1 to 14 and no mold, no rot, mild sour or bozy aroma
- Some bubbles on the sides or bottom of the jar, even if the top is flat
- Starter doubled briefly on day 1 to 3 (false rise), now quiet
Troubleshoot (change one variable) if:
- Day 14+ and still completely inert
- Kitchen below 70°F (21°C)
- You’re using bleached flour or chlorinated tap water
- You’re feeding twice a day with a 1:5:5 ratio (too dilute)
Start over if:
- Fuzzy mold of any color (white, pink, orange, black)
- Rotten, sewage, or chemical smell that does not fade after 2 to 3 feedings
- Liquid on top that is pink, red, or otherwise unusual
The Sourdough Journey’s reassurance is worth repeating: “It is incredibly difficult (and nearly impossible) to kill a sourdough starter.” Most starters that look dead are just cold, immature, or overfed. Save the nuclear option (start over) for genuine mold or rot.
Quick-Reference Troubleshooting Checklist
Print this or save it on your phone. Walk through it in order any time your starter looks flat.
- Day 1 to 14 with mild sour smell and no mold → keep waiting, daily 1:1:1 feed.
- Kitchen below 70°F (21°C) → move to a warmer spot (oven light, heating pad, top of fridge).
- Using bleached AP flour → switch to unbleached, ideally with 50% whole-grain or rye.
- Tap water is chlorinated → switch to filtered or bottled water.
- Feeding twice a day → drop to once a day until starter doubles reliably.
- Large feeding (lots of starter, lots of flour, lots of water) → shrink the feeding or feed less often.
- Smell is rotten or you see fuzzy mold → discard, wash the jar, and start over.
Frequently Asked Questions
My sourdough starter isn’t bubbling after 7 days. Is this normal?
Yes, this is completely normal. A sourdough starter not bubbling after a week is one of the most common beginner experiences. Most starters take 7 to 14 days to double reliably, and some take up to 30 days. If your starter has a mild sour or yogurty smell and no mold, it is alive and on track. The early activity on days 1 to 3 was the false rise caused by bacteria, and the yeast colony needs more time to establish itself. Keep feeding once a day at room temperature and wait.
Can I revive a non-bubbling starter?
Yes, in most cases a non-bubbling sourdough starter can be revived. First, check that there is no mold or rotten odor (those mean start over). Then try one change at a time: move the jar to a warmer spot between 75 and 82°F, switch from bleached all-purpose flour to unbleached or a whole-grain blend, replace tap water with filtered water if your tap is chlorinated, and reduce feeding to once a day with a smaller ratio. Most flat starters respond to warmer temperature and unbleached flour within 2 to 4 days. Patience matters more than any one trick.
How do I know if I ruined my sourdough starter?
You have almost certainly not ruined it. A sourdough starter is remarkably resilient and is very hard to kill. The only real signs you have ruined a starter are fuzzy mold growth in white, pink, orange, or black, or a smell that is unmistakably rotten, sewage-like, or chemical after multiple feedings. A sour, vinegary, fruity, or mildly boozy smell is normal. A flat appearance and no bubbles, even after two weeks, does not mean the starter is ruined. It usually means it is cold, immature, overfed, or in the natural dormant phase between the false rise and the real rise.
What do you do if your sourdough starter isn’t bubbling?
If your sourdough starter isn’t bubbling, work through these steps in order. First, check for mold or rot and start over only if present. Second, move it to a warmer spot (75 to 82°F) using the oven light, a heating pad, or the top of the fridge. Third, switch to unbleached flour, ideally a 50/50 blend with whole wheat or rye. Fourth, replace tap water with filtered water if your tap is chlorinated. Fifth, drop feedings to once a day and use a small 1:1:1 ratio by weight. Finally, give it 7 to 14 more days. Most quiet starters recover within a week of these changes.
What are the signs of an overfed sourdough starter?
The signs of an overfed sourdough starter are a flat, liquid, separated appearance with very little rise after feeding, plus a faint or absent smell. Overfeeding dilutes the small yeast colony faster than it can grow, so the starter looks thinner, runnier, and less active over time. If you are feeding twice a day, or feeding with a 1:5:5 or higher ratio while the starter is still young, you are likely overfeeding. Fix it by reducing feedings to once a day and using a smaller 1:1:1 ratio by weight (for example, 10g starter, 10g flour, 10g water) until the starter recovers.
Should I feed my starter if there are no bubbles?
Yes, keep feeding once a day even if you see no bubbles. A sourdough starter not bubbling after a week still needs regular feeding to stay alive and to allow the wild yeast colony to develop. Skipping feedings does not help, and it risks the starter going acidic and slowing down further. Feed once a day with a 1:1:1 ratio by weight using unbleached flour and room-temperature water. If after 14 days you see no activity at all, switch to warmer temperature, unbleached or whole-grain flour, and filtered water, but do not stop feeding in the meantime.
Conclusion: Patience Beats Panic
A sourdough starter not bubbling after a week is almost never a failure. It is biology doing what biology does, building a wild yeast colony strong enough to leaven bread, and that takes 7 to 14 days for most starters and up to 30 days for some. Walk through the seven causes in order, give your starter warmer temperature, unbleached flour, filtered water, and a once-a-day feeding at a small 1:1:1 ratio by weight, and trust the process. Within a week of these small changes, you should see real bubbles and a mild dome after feeding. From there, you are on your way to your first loaf.
Keep going, keep feeding, and give it the time it asks for. The reward is a living culture that will bake your bread for years.