
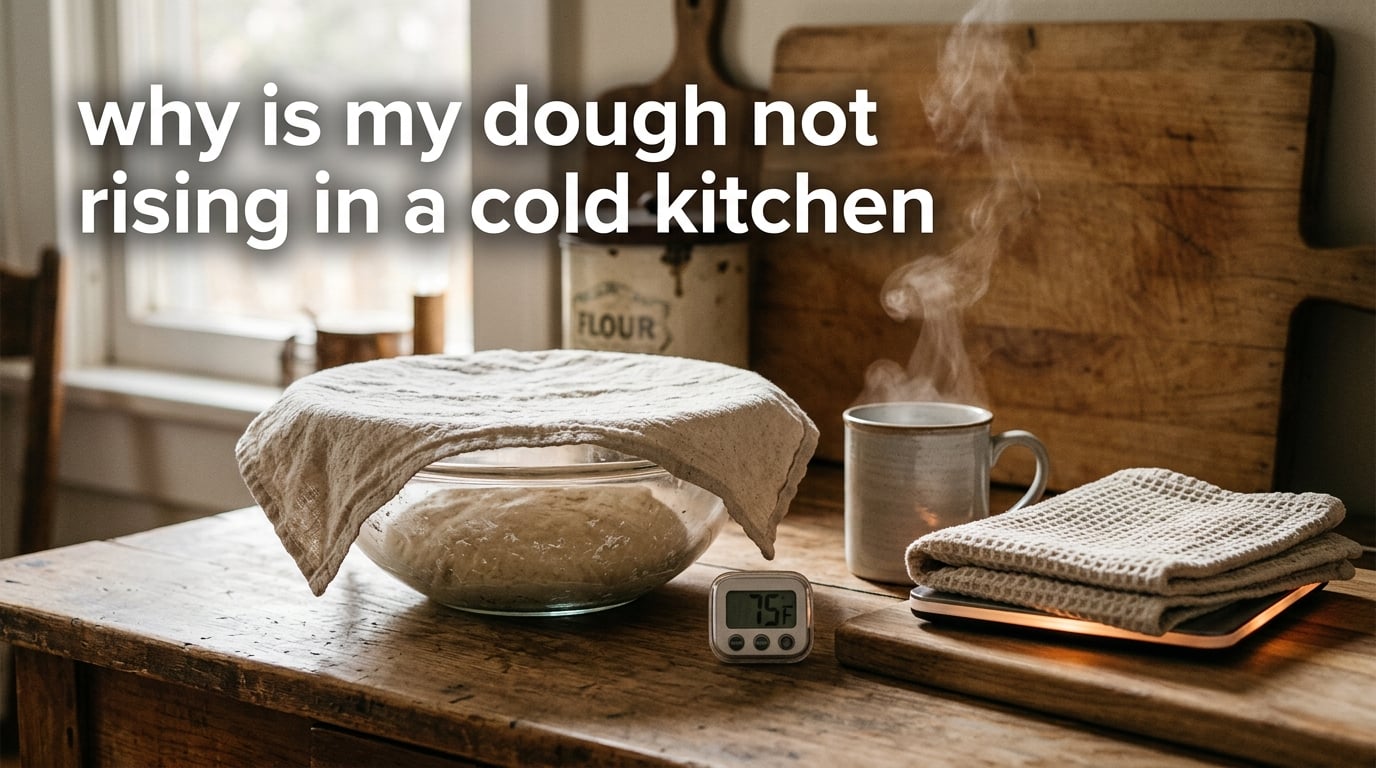
Your dough is not rising in a cold kitchen because yeast activity slows dramatically once ambient temperature drops below about 70F (21C). Yeast is a living organism, and when the air, bowl, flour, and water are all cold, fermentation grinds to a near halt and your dough sits there looking like a lump. The good news: in most cases the yeast is fine. You just need a warmer spot, warmer mixing water, and a little patience.
I baked in a 58F apartment for two winters before I figured this out. Every loaf was a brick until I learned that temperature is the single biggest variable in bread baking. This guide shows you exactly how to fix it.
Table of Contents
Quick Diagnosis: Is Your Kitchen Too Cold for Dough?
If your kitchen sits below 70F, your dough will rise 1.5 to 3 times slower than the recipe says. Use a thermometer (even a cheap one stuck to the counter) and check these spots:
- Above 75F: dough should rise on schedule
- 65 to 70F: expect 1.5 to 2 times the recipe time
- 55 to 65F: expect 2 to 3 times the recipe time
- Below 55F: yeast basically stops. You need an artificial warm spot.
That is the answer to why is my dough not rising in a cold kitchen: it almost always is a temperature problem, not dead yeast.
Why Cold Kitchens Stop Dough From Rising
Yeast ferments the sugars in flour and produces carbon dioxide gas, which gets trapped in the gluten network and pushes dough upward. That biology is highly temperature sensitive. Yeast activity is fastest between 75F and 85F, slows dramatically below 70F, and the yeast cells die above about 130F (55C).
Commercial yeast (instant and active dry) likes it warmest. The sweet spot for active dry yeast is roughly 95F liquid and a dough temperature around 78F. Sourdough behaves differently. Wild yeast and lactic bacteria in a sourdough starter prefer a cooler range, typically 75 to 82F (24 to 28C). Pushing sourdough warmer than that actually changes the flavor profile and over-acidifies the dough.
Cold flour, cold water, a cold bowl, and a drafty counter all combine to drag dough temperature down. A room that feels chilly to you at 62F is basically a refrigerator to yeast. That is the cold-kitchen problem in one sentence.
Quick Diagnosis: Is Your Yeast Dead or Just Cold?
Before you change your setup, run the froth test. It takes 5 minutes and tells you if your yeast is actually dead.
Step 1. Stir half a packet (about 4 grams) of yeast into half a cup of warm water at 100 to 110F. Add a teaspoon of sugar.
Step 2. Wait 5 to 10 minutes.
Step 3. Look for a foamy, creamy layer on top, sometimes called a “beer head.”
If you see foam, your yeast is alive. The dough is just cold. If nothing happens after 15 minutes and your water was definitely in the 100 to 110F range, the yeast is dead. Toss it and start fresh.
One warning: water above 120F will cook it on contact. If your tap water runs hot, measure with a thermometer. Yeast dies fast above 130F.
7 DIY Proofing Methods for a Cold Kitchen
These are the methods I have used in apartments and older homes with no central heating. Pick whichever fits your kitchen.
1. Oven With the Light On
Turn on the oven light and put the dough inside, covered. The bulb adds roughly 5 to 15F above room temperature. For more heat, place a baking dish with boiling water on the lower rack for humidity, then close the door. Do not turn the oven on.
2. Microwave With a Cup of Boiling Water
Put your covered dough bowl inside, alongside a mug of just-boiled water. Close the door. The steam creates a warm, humid mini-proof box. Refresh the water every 20 to 30 minutes. This is the trick I see recommended most often on r/Baking and it works reliably.
3. Sink Bath
Fill the sink with a few inches of 110F water. Set the dough bowl in it so the water comes about halfway up the sides. The water holds temperature for 20 to 30 minutes, which is usually enough to kick-start bulk fermentation.
4. Heating Pad on Low
Lay a towel on the pad, set it to low, and place the dough bowl on top. Cover the bowl with a damp cloth. This is one of the most reliable DIY methods because you can dial in the temperature precisely.
5. Slow Cooker or Instant Pot on “Warm”
A slow cooker on “warm” holds around 170F, so it is too hot for the dough directly. Instead, line the pot with a folded towel, set the bowl inside, and keep the lid off. The trapped residual warmth gently proofs the dough without cooking it.
6. Insulated Cooler
A standard picnic cooler is a perfect insulated proof box. Toss in a warm water bottle (around 110F), set the dough on a trivet above it, and close the lid. The cooler holds steady heat for hours, making it ideal for long cold proofs.
7. Top of the Fridge or Near a Dryer
The compressor on a refrigerator radiates a little heat out the top and back. That spot is typically 5 to 8F warmer than the rest of the kitchen. Same idea with a running dryer: the air above it is warm and gently rising. Both work in a pinch.
How to Adjust Mixing and Hydration for Cold Weather
Before you even need a proofing hack, you can warm the dough itself from the inside.
Use warm water or milk when mixing, between 100 and 110F for commercial yeast doughs and around 85F for sourdough. Run your mixing bowl under hot tap water for a minute before you start. Warm the flour too if you can, just leave the bag near a radiator for 30 minutes.
For sourdough bakers, a small hydration bump helps in cold kitchens. Adding 2 to 5 percent more water makes the dough more fluid and easier for cold yeast to push upward. Some bakers go as high as 10 percent, but go slowly and observe.
Always cover the dough with a damp cloth, plastic wrap, or a thin layer of oil. Cold air dries out the surface, which forms a skin that stops the dough from expanding evenly.
Troubleshooting Checklist: Why Dough Won’t Rise in Winter
Walk through this list if your dough is still sluggish after applying the methods above.
- Mixing water was too cold. Anything below 90F barely activates commercial yeast.
- Flour and bowl were cold. They drag dough temperature down by 10 to 15F.
- Counter is drafty. A spot near a window or exterior wall can be 5F cooler than the center of the room.
- Yeast is expired or stored poorly. Check the date and run the test above.
- Salt touched the yeast directly. Salt kills yeast on contact. Always mix salt into the flour first.
- Dough dried out. A dry surface forms a crust that traps gas below instead of letting dough expand.
- Wrong yeast type for the dough. High-sugar enriched doughs need osmotolerant yeast; high-fat doughs rise slowly by nature.
- Fridge is too cold. At 34F (a normal fridge), yeast basically stops. Cold proofing is a controlled pause, not active rise.
- You opened the oven or microwave to “check.” Every opening drops the temperature. Trust the method.
- Kitchen is below 55F. At this point you must use an artificial warm spot. No amount of patience fixes it.
When to Wait vs When to Restart the Dough
The hardest call in cold-kitchen baking is patience. Here is the timing rule of thumb I use.
If your kitchen is 65F, multiply the recipe’s first-rise time by 1.5 to 2. If your kitchen is 55F, multiply by 2 to 3. A recipe that says “rise 1 hour” in a 75F kitchen becomes 1.5 to 2 hours at 65F and 2 to 3 hours at 55F.
Wait it out if you see any of these signs of life, even slow: visible bubbles on the surface, a slightly puffy dome, dough that feels a touch airy when you poke it. Do not restart if there is any activity.
Restart only if all three are true after at least 3 hours: zero bubbles, no volume change, and the dough feels exactly as dense as when you mixed it. At that point, the yeast may be dead or the kitchen too cold for it to recover. Toss and start over rather than baking a dense brick.
Is the dough ruined if it never rose? Usually yes for that specific bake. But you have not wasted ingredients for learning. Next time, mix with warmer water and proof somewhere artificially warm.
Frequently Asked Questions
How do I get dough to rise in a cold kitchen?
Use a thermometer to check your kitchen first. If it is below 70F, find an artificial warm spot: oven with the light on, microwave with a cup of boiling water, sink bath, heating pad on low, or an insulated picnic cooler with a warm water bottle. Also use warm (100 to 110F) water when mixing.
Can you fix dough that will not rise?
If the yeast is still alive (run the froth test in 100F water with a teaspoon of sugar), move the dough to a warmer spot and wait. If the yeast is dead, the batch cannot be rescued. Compost it and start over with fresh yeast and warmer mixing water.
Why didn’t my dough rise during a cold proof?
Cold proofing in the fridge is meant to pause fermentation, not rise the dough. A fridge at 34 to 38F basically stops yeast activity. If you wanted active rise, the dough needs to come back to room temperature or sit in a warm spot, not stay in the fridge.
Can I still use my dough if it has not risen?
If there is any sign of activity (small bubbles, slight puff, airy feel), yes. Shape it and bake. If the dough is completely flat and dense after 3 or more hours in a cold kitchen, the yeast is likely dead and the batch is not worth baking.
What is the ideal temperature for dough to rise?
For commercial yeast doughs, target a dough temperature of 75 to 82F (24 to 28C) with a warm spot around 80F. For sourdough, aim for 75 to 82F during bulk fermentation; cold proofing in the fridge (38 to 40F) is a separate flavor-building step, not the main rise.
Will dough rise in a cold oven?
A cold oven with just the light on will be 5 to 15F warmer than the room, which helps slightly. For real warming, boil water in a kettle, place it in the oven in a baking dish, then put the dough in and close the door. Never turn the oven on to proof, since anything above 130F kills yeast.
Final Word on Cold-Kitchen Baking
Cold kitchens stop dough from rising because yeast needs warmth to do its job. The fix is almost always the environment, not the yeast. Mix with 100 to 110F water, run the froth test if you are unsure, and proof somewhere artificially heated like a microwave with a cup of boiling water or an oven with the light on. With those three changes, your winter loaves will rise like summer ones again.