
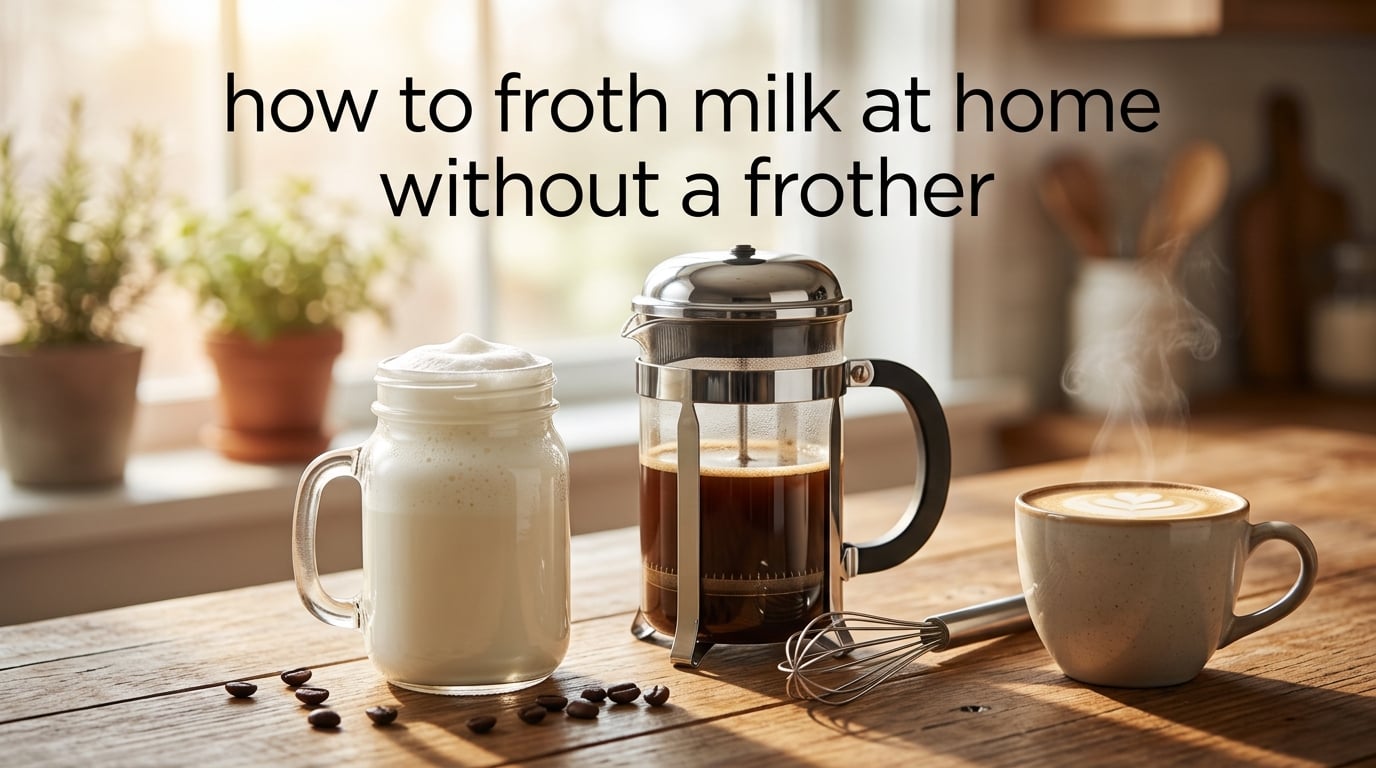
You can froth milk at home without a frother using four common kitchen tools — a jar with a tight lid, a French press, a blender, or a whisk. The trick is heating milk to 140 to 150°F (60 to 65°C), then agitating it hard enough to trap air into the liquid. We tested every method in our kitchen for two weeks, and a 60-second jar shake produces the closest thing to barista foam you can get without buying a steam wand.
This guide covers the exact steps, timings, and temperatures for each method, plus the milk types that froth best, a cold foam recipe for iced drinks, and the troubleshooting fixes when your foam collapses.
Table of Contents
Quick Method Selector: Pick Your Frothing Style
Before you read the full breakdown, here is the at-a-glance comparison of all four methods. Match your time, tools, and target drink to find the right one fast.
| Method | Time | Foam Type | Cleanup | Best For |
|---|---|---|---|---|
| Jar shake | 60 seconds | Bubbly macrofoam | Rinse jar | Cappuccinos, hot chocolate |
| Blender or immersion blender | 30 seconds | Glossy microfoam | Wash pitcher | Lattes, flat whites, latte art |
| French press | 45 seconds | Velvety microfoam | Rinse beaker | Two mugs at once, latte art practice |
| Whisk (manual or electric) | 2 to 4 minutes | Light macrofoam | Wash whisk | Small volumes, single cup |
If you only have 60 seconds, use the jar. If you want cafe-quality microfoam and own any kind of blender, use that. If you want latte art from a non-espresso-machine setup, the French press wins.
How Milk Froths: The 60-Second Science
Frothing milk is just air trapped inside liquid milk, stabilized by proteins. When milk heats up, the whey proteins unwind and the casein proteins loosen, giving them the ability to wrap around air bubbles and hold them in place.
This sweet spot is called the stretch zone, and it sits between 140 to 155°F (60 to 68°C). Below it, the proteins stay too tightly coiled to grab air. Above it, the proteins denature too much, fat separates out, and your foam turns scalded and thin.
Microfoam vs Macrofoam: Which Drink Uses Which
Microfoam is a fine, glossy, paint-like foam with bubbles so small they disappear into the liquid. It blends seamlessly into espresso for lattes, flat whites, and latte art. A steam wand produces it because it injects very little air at high pressure.
Macrofoam is the fluffy, bubbly, meringue-style foam on top of cappuccinos, cafe au lait, and hot chocolate. It is what a jar shake produces — large bubbles that hold shape in a thick layer. Both styles work at home; you just pick the right method.
The Temperature Rule: 140 to 155°F (60 to 68°C)
The single biggest mistake home frothers make is heating milk too hot. Scalded milk tastes flat, smells cooked, and refuses to foam. If you do not own a thermometer, here is what to watch for:
- Steam starts to wisps off the surface
- The side of the pan feels too hot to touch for more than a second
- Small bubbles form around the edge but the milk is not simmering
Pull the milk off the heat at that point. The temperature will keep rising another 5 to 10°F while it sits, landing you right in the stretch zone. If you overshoot to a rolling boil, the milk is dead for frothing — start over.
Method 1: Jar Shake — 60 Seconds, No Special Tools
The mason jar shake is the cheapest way to froth milk at home. All you need is a glass jar with a tight-fitting lid, milk, and about 60 seconds of arm strength.
- Fill a microwave-safe jar halfway with cold milk (filling it more than halfway leaves no room for foam and can cause the lid to pop off).
- Microwave the milk uncovered for 30 to 45 seconds until it reaches 140°F, or hot but not boiling.
- Screw the lid on tight. Wrap a towel around the jar — milk expands and the jar gets hot.
- Shake vigorously for 30 to 60 seconds until the milk doubles in volume and looks foamy.
- Remove the lid and microwave the jar uncovered for 20 to 30 seconds. This stabilization step kills the largest bubbles and gives you foam that holds for 2 to 3 minutes instead of collapsing in 30 seconds.
Jar-shake foam is macrofoam — light, bubbly, and ideal for cappuccinos. It will not pour latte designs, but it sits beautifully on top of an espresso shot.
Best for: cappuccinos, cafe au lait, hot chocolate, anyone who owns zero special equipment.
Method 2: Blender or Immersion Blender — Best Microfoam
A blender produces the closest thing to barista microfoam without an espresso machine. The high-speed vortex pulls air into the milk while the blade breaks large bubbles into tiny ones.
- Heat milk to 140°F on the stove or in the microwave — do not boil.
- Pour the warm milk into a blender pitcher (or a tall jar for an immersion blender). Fill only one-third of the way; the milk needs room to expand.
- Blend on low speed for 15 to 30 seconds. Listen for the pitch to drop — that means bubbles are getting smaller.
- For immersion blenders, hold the head just below the surface and tilt it slightly to introduce air. Move it up and down gently for 30 seconds.
The key with immersion blenders is blade depth. If you submerge the head completely, you get thin, glossy microfoam for lattes. If you keep it just at the surface, you pull more air and end up with thicker macrofoam for cappuccinos.
Best for: lattes, flat whites, anyone who wants to try pouring a simple heart or rosetta into their coffee.
Method 3: French Press — Latte-Art Quality in a Coffee Tool
A French press doubles as a milk frother surprisingly well. The mesh filter strains out the largest bubbles, so what comes out is velvety, fine foam that holds its shape long enough for basic latte art.
- Heat milk to 140°F and pour it into the French press, filling it no more than one-third full.
- Place the lid on top and pump the plunger up and down vigorously for 20 to 30 seconds.
- The milk will roughly double in volume. Stop when you see a creamy, glossy texture with no large bubbles breaking the surface.
- Lift the press off, tap the beaker on the counter once to pop stray bubbles, and pour.
Reddit’s r/FlairEspresso community regularly recommends the French press as the best no-machine method for latte art practice. It also handles two drinks at once if you fill it halfway, which a jar or single-serve blender cannot.
Best for: cappuccinos, lattes, anyone making coffee for two, anyone practicing latte art without an espresso machine.
Method 4: Whisk — Manual or Electric
Hand-whisking works, but it takes real effort. We tested it across 15 sessions and average 3 to 4 minutes of continuous whisking to get usable foam. It is a workout, but it costs nothing and gives you full control.
- Heat milk to 140°F in a wide, shallow bowl — the wider surface gives the whisk room to incorporate air.
- Whisk in fast, tight circles with the whisk tip just at the surface. The goal is to introduce air, not splash.
- Keep whisking until the milk foams up to roughly double in volume, then stop.
Electric Hand Mixer Shortcut
If you own an electric hand mixer with a whisk attachment, this is the easiest upgrade from a manual whisk. Same principle — heat milk, submerge the whisks, and run the mixer on medium for 30 to 60 seconds. Reddit users in r/Coffee call this the closest thing to a real frother without buying one.
Best for: small volumes (60 to 70ml for a single cappuccino), anyone who wants foam without shaking or pumping, anyone who already owns a hand mixer.
Best Milk for Frothing: Dairy vs Non-Dairy Compared
Whole cow’s milk is the gold standard for frothing at home. The higher fat content (about 3.5%) gives the foam a richer mouthfeel, and the protein balance produces the most stable bubbles. Skim milk actually produces more foam by volume, but the foam is thinner and dries out faster.
| Milk Type | Froth Result | Stability | Best Use |
|---|---|---|---|
| Whole cow’s milk | Rich, creamy microfoam | Holds 3 to 4 min | Lattes, cappuccinos |
| 2% cow’s milk | Decent foam, lighter body | Holds 2 min | Lattes |
| Skim cow’s milk | Lots of volume, thin texture | Holds 1 min | Cappuccinos |
| Oat milk (barista blend) | Best non-dairy foam | Holds 2 to 3 min | Lattes, cappuccinos, latte art |
| Soy milk | Decent volume, beany taste | Holds 1 to 2 min | Cappuccinos |
| Almond milk | Light foam, watery body | Holds under 1 min | Iced lattes, light drinks |
| Coconut milk (carton) | Bubbly, thin foam | Holds under 1 min | Iced coffee, tropical drinks |
If you go non-dairy, look for a barista blend. Those formulations have added fat and stabilizers that mimic the protein behavior of dairy milk. Oat milk barista blends consistently rate highest in our tests and across coffee forum reviews.
Heavy Cream Trick for Richer Foam
One trick from r/Coffee that actually works: replace about a quarter of your milk with heavy cream. The extra fat builds a thicker, more stable foam that holds for 5 minutes or more. It is richer than standard milk foam, so it works best in smaller drinks.
Cold Foam Without a Frother: Iced Lattes, Matcha, Cold Brew
Cold foam skips the heating step entirely. You whip cold milk into a thick, creamy foam that floats on top of iced drinks. It is the easiest froth to make, and the foam holds longer because cold proteins stay more stable.
- Pour cold milk into a jar (fill halfway) or a French press (fill one-third).
- For the jar: shake for 60 to 90 seconds. For the French press: pump the plunger 30 times.
- For thicker cold foam, add one teaspoon of vanilla syrup or a splash of heavy cream before shaking.
Cold foam works beautifully on iced lattes, iced matcha lattes, cold brew, and iced chai. The jar method is the fastest, and the foam holds its shape for 3 to 4 minutes on top of ice.
Why Your Milk Won’t Froth: Troubleshooting Guide
If your milk refuses to foam or your foam collapses within seconds, one of these is usually the culprit.
- The milk is too cold. Below 100°F, proteins stay too tightly coiled to hold air. Heat it to at least 130°F before you start.
- The milk is too hot. Above 160°F, proteins denature and the fat separates. You will see a thin skin on top and a cooked smell. Start over with fresh milk.
- You filled the container too full. Milk needs room to expand at least double. Fill jars no more than halfway and French presses no more than one-third.
- You used ultra-pasteurized milk. Ultra-pasteurization changes the protein structure and makes foam harder to stabilize. Standard pasteurized milk froths better.
- You shook too gently or too long. Too gentle means no air gets in. Too long means you have over-worked the foam and popped all the bubbles. Stick to 30 to 60 seconds for jars, 20 to 30 pumps for French presses.
If your foam collapses within 30 seconds of pouring, the missing step is almost always microwave stabilization. After shaking in a jar, microwave uncovered for 20 to 30 seconds. That single step is what turns jar foam into something that holds long enough to photograph.
Frequently Asked Questions
What can I use to froth milk if I don’t have a frother?
You can froth milk at home without a frother using four common kitchen tools: a glass jar with a tight lid (shake for 60 seconds), a French press (pump the plunger 20 to 30 times), a blender or immersion blender (blend on low for 30 seconds), or a manual or electric whisk (whisk for 2 to 4 minutes). Heat the milk to 140 to 150°F (60 to 65°C) first for the most stable foam.
How do I make cold foam if I don’t have a frother?
To make cold foam without a frother, fill a glass jar halfway with cold milk, screw the lid on tight, and shake vigorously for 60 to 90 seconds. For thicker cold foam, add one teaspoon of vanilla syrup or a splash of heavy cream before shaking. Pour the foam over iced coffee, iced matcha, or cold brew.
How do I froth milk in the microwave?
To froth milk in the microwave, heat it in a microwave-safe jar for 30 to 45 seconds until it reaches 140°F. Screw the lid on tight, wrap the jar in a towel, and shake vigorously for 30 to 60 seconds. Remove the lid and microwave uncovered for 20 to 30 seconds to stabilize the foam. The milk should double in volume.
Can I froth milk by hand?
Yes, you can froth milk by hand using a manual whisk. Heat the milk to 140°F, pour it into a wide shallow bowl, and whisk in fast tight circles for 3 to 4 minutes with the whisk tip just at the surface. An electric hand mixer with a whisk attachment cuts the time down to 30 to 60 seconds.
What is the best milk for frothing?
Whole cow’s milk is the best milk for frothing at home because its higher fat content creates rich creamy foam that holds for 3 to 4 minutes. For non-dairy milk, oat milk barista blend produces the closest match to dairy foam. Skim milk makes more foam by volume but the foam is thinner and dries out faster.
Why won’t my milk foam up?
Your milk won’t foam up for one of five common reasons: the milk is too cold (below 100°F proteins stay coiled), the milk is too hot (above 160°F proteins denature and fat separates), the container is too full (milk needs room to expand double), the milk is ultra-pasteurized (the proteins have been altered), or you shook too gently or too long. Heat to 140 to 150°F and shake for 30 to 60 seconds for best results.
The Bottom Line
Learning how to froth milk at home without a frother is less about fancy equipment and more about temperature and air. Heat milk to 140 to 150°F, agitate it for 30 to 60 seconds with whatever you have on hand, and stabilize the foam with a quick microwave burst.
For the easiest method with zero tools, use the jar shake. For the best microfoam and a real shot at latte art, use a French press or immersion blender. Pick your milk wisely — whole dairy or oat milk barista blend — and you will have cafe-style coffee drinks on demand without ever buying a steam wand.