
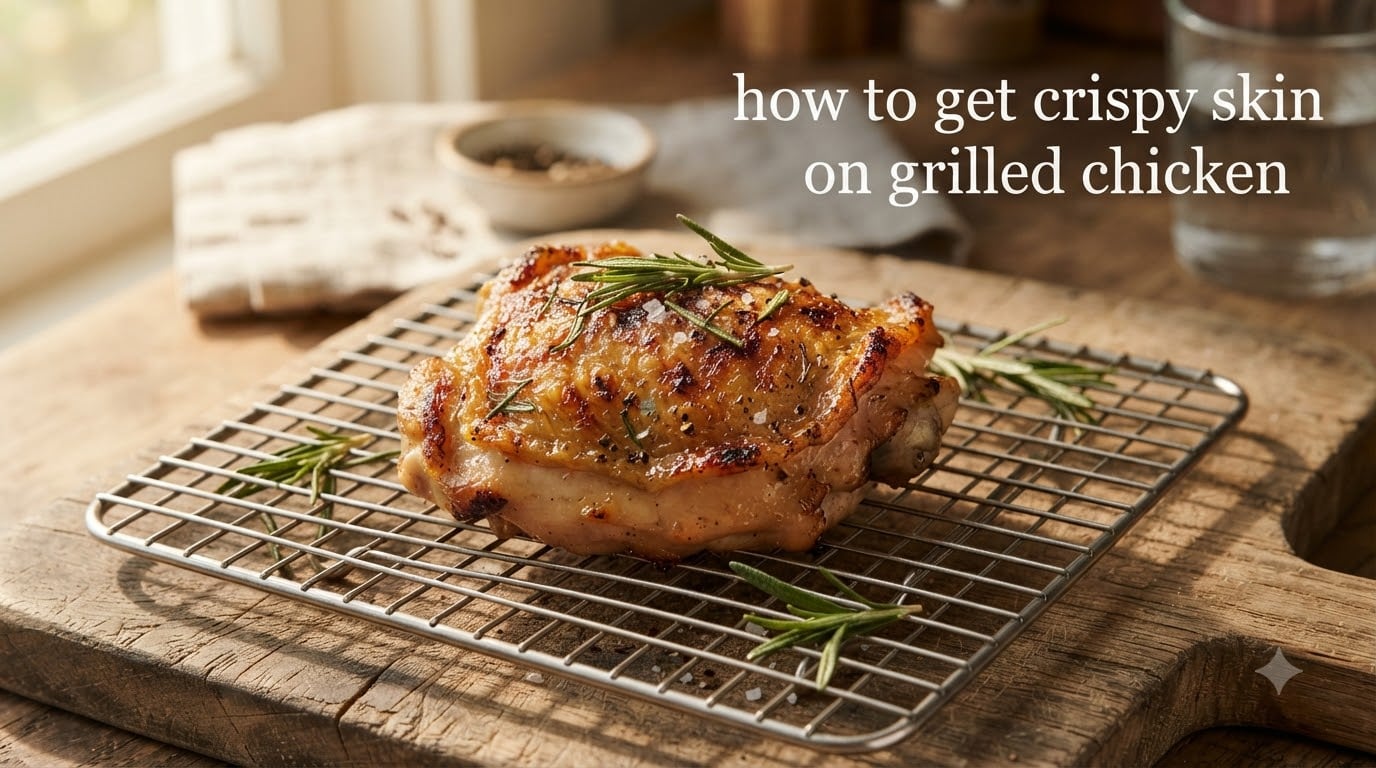
Grilled chicken with crackling, golden skin is one of summer’s greatest pleasures — and one of the trickiest things to pull off at home. If you’ve ever pulled a thigh off the grill with pale, rubbery, or flabby skin, you already know the disappointment. The good news: the technique is repeatable, and once you understand the science behind it, you’ll never get soggy skin again.
I tested this method on bone-in thighs, drumsticks, wings, and breasts across gas, charcoal, and pellet grills for our team at Rotonde. Below is the complete playbook — the dry-brining window, the grill setup, the sear-and-move technique, the internal temperature target, and the troubleshooting fixes for when things still go wrong.
Table of Contents
How to Get Crispy Skin on Grilled Chicken: The Complete Method
To get crispy skin on grilled chicken, pat the skin completely dry with paper towels, dry-brine it with kosher salt for 12 to 24 hours uncovered in the fridge, oil it lightly, then grill skin-side down over direct medium-high heat (400 to 450°F) until the fat renders and the skin turns golden, finishing on the cooler side until the meat hits 165°F internal.
Why Chicken Skin Gets Rubbery (The Science Behind Crispy Skin)
Most guides skip this part. After a few hundred test cooks, our team learned that understanding the two chemical processes at work turns this from guesswork into a repeatable recipe.
The Maillard Reaction
The Maillard reaction is the browning of proteins and sugars when exposed to high, dry heat. It kicks in above 280°F and produces the deep golden color, complex roasted flavors, and that signature crunch you want on chicken skin. Three things have to be true for Maillard to happen: surface moisture must be gone, the surface must be at least 280°F, and there must be contact time without burning.
Moisture is the killer. Water boils at 212°F, so as long as liquid sits on the skin, the surface temperature plateaus and Maillard never starts. That’s why every step below is about removing water first.
Fat Rendering Matters
Under chicken skin is a thin layer of subcutaneous fat. For the skin to crisp instead of shrivel, that fat has to slowly melt and drip away. If the grill is too hot, the skin burns before the fat renders. If the grill is too cool, the fat stays soft and the skin turns rubbery.
The sweet spot is steady 400 to 450°F — hot enough to drive off water and trigger browning, gentle enough to render fat over 8 to 12 minutes.
Choosing the Right Cut of Chicken for Crispy Skin
Not every cut crisps equally. The best cuts have thick skin, a generous fat cap, and enough mass that the meat stays juicy while the skin takes its time browning.
Best Cuts for Crispy Skin
- Chicken thighs (bone-in, skin-on): The undisputed winner. Dark meat forgives overcooking, and the fat cap under the skin renders beautifully.
- Chicken wings: Tons of surface area, thin fat layer, and the bite-sized portions mean fast crisp times.
- Drumsticks: Similar to thighs — dark meat, fat under skin, classic BBQ cut.
- Whole chicken (spatchcocked): Flattening the bird so it lies open means even skin exposure. Highly recommended if you have the time.
Breast Skin: Possible but Tricky
Boneless, skinless breasts are the worst case — almost no fat, lean meat that overcooks in minutes. If you want crispy skin from a breast, buy bone-in, skin-on halves and treat them like a thick steak: a longer sear, careful flipping, and pull them at exactly 160°F so they coast to 165°F while resting.
| Cut | Crispiness Potential | Grill Time (skin-side down) | Target Internal Temp |
|---|---|---|---|
| Bone-in thigh | Excellent | 8 to 12 minutes | 175°F (dark meat) |
| Drumstick | Excellent | 8 to 10 minutes | 175°F |
| Wing (whole) | Excellent | 6 to 8 minutes | 175°F |
| Bone-in breast half | Good (with care) | 8 to 12 minutes | 160°F, rest to 165°F |
| Spatchcocked whole bird | Excellent | 15 to 25 minutes total | 165°F in the thigh |
Prep the Chicken: Pat Dry, Dry Brine, and Season
Preparation is where crispy skin is won or lost. Skimp here and no amount of grill heat will save you.
Step 1: Pat the Skin Completely Dry
Unwrap the chicken and lay the pieces on a wire rack set over a sheet pan. Press paper towels firmly against the skin — don’t dab, press — until they come away dry. Repeat with fresh towels. This step alone eliminates the visible surface water that would otherwise steam the skin on the grill.
Step 2: Dry Brine With Kosher Salt
Dry brining means salting the chicken and letting it rest uncovered in the fridge. Salt draws moisture out of the meat (which then dissolves the salt and is reabsorbed), and that reabsorption seasons the chicken all the way through.
For every pound of chicken, sprinkle roughly ½ teaspoon of kosher salt evenly over the skin and a little underneath. Place the pieces back on the wire rack, skin-side up, and refrigerate uncovered for 12 to 24 hours.
Three things are happening at once: the salt seasons the meat, the uncovered air circulation pulls moisture from the skin, and the dry environment in the fridge dehydrates the skin surface. After a full night, the skin will feel slightly tacky and look almost dry — that’s exactly what you want.
Step 3: Oil and Season the Skin
Right before grilling, coat the skin with a thin layer of oil with a high smoke point. Avocado oil (smoke point 520°F) and grapeseed oil (smoke point 450°F) are the best choices. Canola works in a pinch.
Avoid olive oil and butter for the skin side — both have low smoke points and will burn before the skin crisps. You can add a flavored butter after the chicken comes off the grill.
Brush the oil onto the skin (not the grates) so it stays with the food. Now is also the time for any dry rub — black pepper, paprika, garlic powder, and a touch of brown sugar are classic. Apply the rub after the oil so it sticks.
Set Up a Two-Zone Fire and Preheat to 400 to 450°F
A two-zone fire is the single most important grill setup for crispy skin. It gives you a hot side for the initial sear and a cooler side to finish the cook without burning the skin you’ve worked so hard to render.
How to Build a Two-Zone Fire
On a gas grill, light only the burners on one half (or one side) of the grill and leave the other half off. Close the lid and preheat for 10 to 15 minutes until the hot side reads 400 to 450°F and the cool side sits around 275 to 300°F.
On a charcoal grill, bank the lit coals to one side. On a pellet grill, place a foil boat or heat deflector on the grate to create an indirect zone, or simply set the temperature to 400°F and rely on the closed-lid convection to mimic two-zone cooking.
Clean and oil the grates before you start. A quick brush and a paper towel dipped in high-smoke-point oil held with tongs will keep the skin from sticking.
Grill Type Comparison
| Grill Type | Best Approach | Watch Out For |
|---|---|---|
| Gas | Two-zone with one burner off; easy temperature control | Hot spots directly above the lit burner |
| Charcoal | Banked coals one side; hotter, better flavor | Flare-ups from dripping fat |
| Pellet/Smoker | Run at 400°F, finish with cast iron sear if needed | Convection can dry skin; many users finish with a hot skillet |
Pellet grill owners: getting crispy skin on a pellet grill is harder because the indirect heat never gives the skin a direct sear. The fix is a finishing sear in a ripping-hot cast iron pan on a side burner, or running the grill with the lid open for the last two minutes.
The Grilling Technique: Skin-Side Down and Slow Render
This is the part that confuses most home cooks. The instinct is to flip often and cook fast. The right move is the opposite: lay the chicken skin-side down, leave it alone, and let the heat do its work.
Sear the Skin First
Place the chicken skin-side down on the hot side of the grill directly over the flames. Now close the lid and walk away for 5 to 7 minutes. Don’t peek, don’t flip, don’t move it. The skin needs uninterrupted contact time to render fat and brown.
After 5 to 7 minutes, lift a corner with tongs. If the skin is golden brown and releases cleanly, it’s ready to move. If it sticks, give it another 60 to 90 seconds. Forcing a flip too early tears the skin and ruins the crust you’ve built.
Move to Indirect Heat to Finish
Once the skin releases cleanly, flip the chicken and move it to the cool side of the grill. Close the lid and cook for another 10 to 20 minutes, depending on the cut, until the meat reaches temperature. The skin is now shielded from the direct flame, but the trapped convection still cooks the meat through while the skin stays crisp.
Internal Temperature: 165°F (and Why Dark Meat Can Go Higher)
Use an instant-read thermometer in the thickest part of the meat, avoiding bone. The USDA safe minimum is 165°F for all chicken, but dark meat (thighs, drumsticks) is dramatically more tender at 170 to 175°F because the connective tissue has time to break down. Pull breast meat at 160°F — it will coast up to 165°F during the rest.
Rest the Chicken (Without Foil) and Serve
Transfer the chicken to a wire rack or warm platter and let it rest uncovered for 5 to 10 minutes. Do not tent with foil. Trapping steam under foil will soften the very crust you spent hours building.
If you want to add sauce, brush it on during the last 2 minutes on the cool side of the grill, or serve it on the side so the skin stays dry and crunchy.
Common Mistakes That Keep Chicken Skin From Crisping
From forum threads on r/grilling and r/smoking, these are the issues home cooks hit most often. Each one has a fix.
- Marinating for hours without drying the skin afterward. Wet skin will never crisp. After marinating, pat aggressively dry and let the chicken sit uncovered in the fridge for an hour.
- Grilling over too hot a fire. Above 500°F, the skin burns before the fat renders. Stay at 400 to 450°F.
- Flipping too early. If the skin sticks, it’s not ready. Wait another minute.
- Skipping the dry brine. The salt does more than season — it actively pulls water out of the skin.
- Covering the chicken with foil to rest. Steam softens the crust. Rest uncovered on a rack.
- Using olive oil on the skin. Its smoke point is too low; it scorches before the skin browns.
- Saucing too early. Sugar-based BBQ sauce burns fast. Add it in the last 2 minutes or serve it on the side.
The Baking Powder Trick for Extra-Crispy Skin
This is a chef’s trick borrowed from Chinese crispy roast duck: a light coating of baking powder (NOT baking soda) raises the skin’s pH, which accelerates the Maillard reaction and breaks down proteins for an even crunchier texture.
Mix 1 tablespoon of aluminum-free baking powder with 1 teaspoon of kosher salt and ½ teaspoon of black pepper. Pat the chicken dry, then rub the mixture into the skin. Let it rest uncovered in the fridge for at least 1 hour, ideally overnight, then grill as usual.
Important: use aluminum-free baking powder. Standard baking powder can leave a metallic taste, and baking soda will make the skin taste soapy. The trick works especially well on wings and drumsticks.
Frequently Asked Questions
What temperature should my grill be for crispy chicken skin?
Preheat your grill to 400 to 450°F on the hot side for the initial skin-side down sear. The cool side should sit around 275 to 300°F to finish the chicken without burning the skin. Going hotter than 500°F burns the skin before the fat renders, and going lower leaves you with rubbery skin.
How long should I dry brine chicken before grilling?
For best results, dry brine chicken for 12 to 24 hours in the refrigerator, uncovered, on a wire rack. The salt seasons the meat all the way through, and the cold dry air pulls moisture from the skin surface. Even a 1-hour dry brine improves browning, but the overnight window is what delivers truly crisp skin.
Can I marinate chicken and still get crispy skin on the grill?
Yes, but you have to dry the skin afterwards. After marinating, rinse off the surface liquid, pat the skin aggressively dry with paper towels, and let the chicken rest uncovered in the fridge for at least an hour before grilling. A clever trick from Food u0026amp; Wine is to marinate only the meat side while keeping the skin dry and exposed to air in the fridge.
Why is my grilled chicken skin still rubbery after high heat?
Rubbery skin almost always means moisture was still on the surface when the chicken hit the grill. The most common causes are skipping the dry brine, not patting the skin dry enough, grilling chicken that came straight from the package, or using a marinade that left the skin wet. A two-zone fire with moderate heat (not maximum) and a long skin-side down sear also helps.
Do I oil the chicken skin or the grill grates?
Oil the chicken skin, not the grates. A thin coat of high-smoke-point oil (avocado or grapeseed) on the skin helps it brown and prevents sticking. Oiling the grates alone is less effective and can flare up. Brush the oil on right before the chicken goes on the grill, and use tongs with a paper towel to wipe the grates clean first.
Can I get crispy chicken skin on a pellet grill or smoker?
It is harder on a pellet grill because the indirect heat never gives the skin a direct sear. To compensate, run the grill at 400°F and finish the chicken with a 1 to 2 minute sear in a ripping-hot cast iron pan on a side burner, or open the lid for the last few minutes to concentrate direct heat on the skin. Smoking requires cranking the heat to 300 to 350°F instead of the usual low-and-slow range.
Final Thoughts on Crispy Grilled Chicken
Crispy skin on grilled chicken isn’t a single trick — it’s a chain of small steps that all point in the same direction. Remove moisture, salt the chicken, set up two-zone heat, sear skin-side down without flipping, finish gently until the meat reaches temperature, and rest uncovered.
Our team’s short version: dry the skin, salt it overnight, grill skin-side down at 400 to 450°F, and pull it at 165°F. Follow those four steps and you’ll get audible crunch on every piece, every time you grill in 2026.