
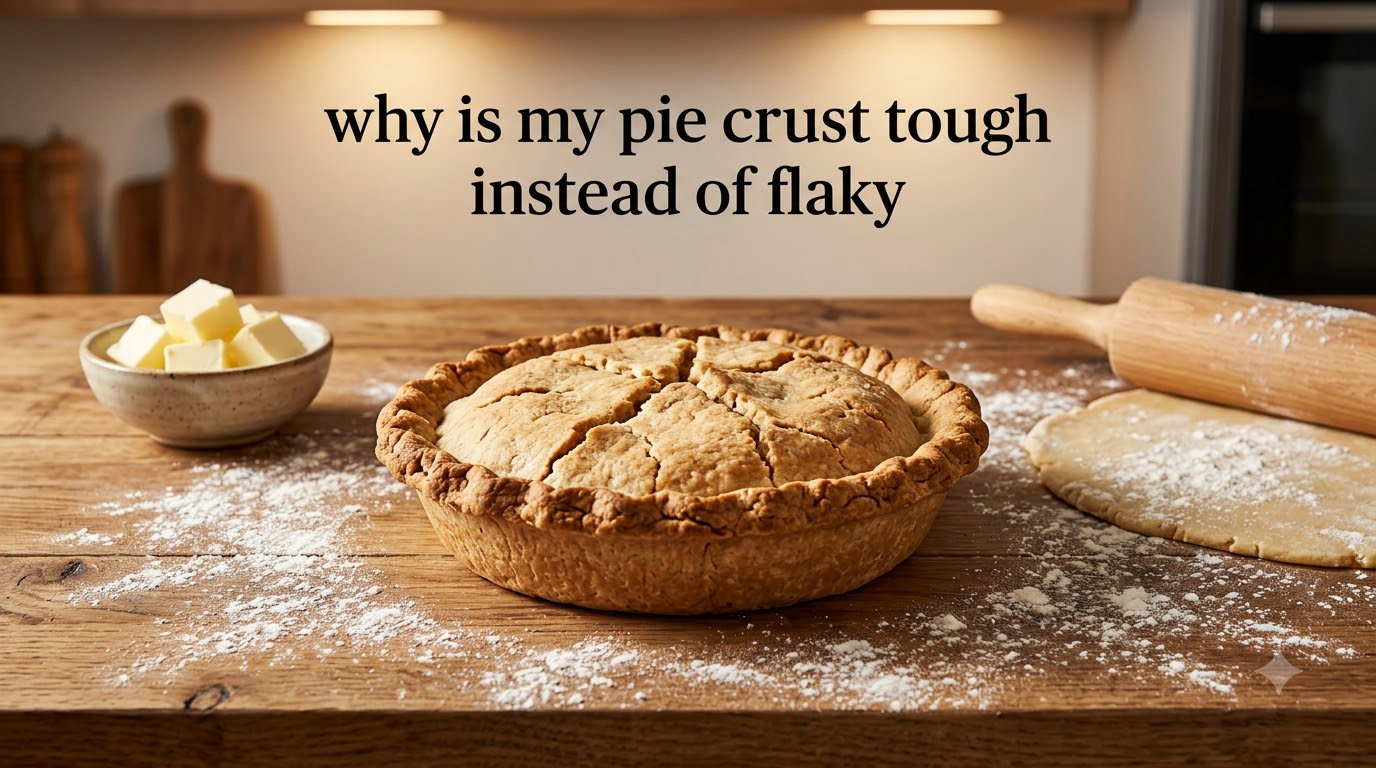
If you’ve ever pulled a beautiful pie from the oven only to slice into a crust that bends instead of flakes, you’re not alone. I spent two years wondering why is my pie crust tough instead of flaky before I finally understood what was happening inside the dough.
The short answer: tough pie crust comes from gluten developing too much and fat melting into the flour instead of staying in distinct pieces. The fix is cold ingredients, minimal handling, and just enough water to bring the dough together – nothing more.
Here’s the thing – most pie crust problems trace back to five common mistakes, and every one of them is fixable. In this guide I’ll walk you through each cause, show you what proper dough looks like, and give you a step-by-step plan to rescue a crust that’s already gone wrong.
Table of Contents
Quick Answer: Why Your Pie Crust Is Tough
A tough pie crust is dense, chewy, and leathery instead of tender and flaky. It happens when the gluten proteins in flour form a tight network (from over-mixing, too much water, or both) and the solid fat melts into the dough rather than staying in chunks that create separate flaky layers during baking.
The Top 5 Causes of Tough Pie Crust
- Overworked dough – mixing or rolling too long develops excess gluten.
- Too much water – over-hydration activates more gluten than the recipe needs.
- Warm butter or warm ingredients – melted fat blends into flour instead of staying in pieces.
- Wrong fat or wrong ratio – some fats produce tougher crust than others.
- Skipping or shortening the rest – gluten needs time to relax after mixing.
Tough vs Flaky Crust: Quick Comparison
Texture when cut: Tough crust bends, resists breaking, and chews. Flaky crust crumbles into distinct layers.
Appearance: Tough crust looks smooth, dense, and sometimes cracked. Flaky crust shows visible flakes and a blistered top.
Flavor: Tough crust is flour-forward and flat. Flaky crust is buttery and rich.
Dough before baking: Tough crust dough is sticky, stretchy, and smooth. Flaky crust dough is shaggy with visible butter chunks.
Color: Tough crust is pale or unevenly browned. Flaky crust is evenly golden brown.
What Makes Pie Crust Tough Instead of Flaky?
Pie crust gets tough when two things go wrong at the same time: gluten develops too much, and fat stops doing its job.
Flour contains two proteins – glutenin and gliadin. When water hits flour and you mix or knead, these proteins link together and form elastic strands called gluten. A little gluten gives structure. Too much gluten gives you something closer to bread dough than pastry.
Fat is the counterbalance. When you cut cold butter into flour, the butter pieces get coated in flour and suspended throughout the dough. During baking, those solid fat pieces melt and leave behind thin air pockets – that’s where flaky layers come from. If the butter warms up and blends into the flour before baking, you lose those pockets and end up with a homogeneous, tough dough.
So the entire craft of pie crust is about managing those two ingredients – keeping fat cold and keeping handling to a minimum. Every cause below is a variation on one of those two failures.
Cause #1: Overworking the Dough
Overworked dough is the single most common reason home bakers end up with a tough crust. It happens during mixing, during rolling, or both.
What Overworked Dough Looks Like
Properly mixed pie dough should look shaggy – a mix of pea-sized butter chunks and floury streaks that barely hold together when pressed. Overworked dough looks smooth, uniform, and slightly stretchy, almost like play-dough. If your dough comes together into a perfect ball with no visible butter pieces, you’ve gone too far.
Where Overworking Happens
- Food processor: Pulses are easy to lose count of. Five seconds too long and the butter is smeared instead of chunked.
- Hand mixing: Kneading the dough to “make it smooth” – it should never be smooth.
- Rolling: Pressing too hard, rolling back and forth dozens of times, or re-rolling scraps.
- Fitting into the pan: Stretching dough to fill gaps instead of lifting and settling it.
How to Stop Overworking
I learned this the hard way after a summer of food-processor pies that all came out tough: count your pulses out loud. Eight pulses is usually the maximum. The dough should still look like grated parmesan with butter chunks when you dump it out.
When rolling, use firm but gentle pressure and stop the moment the dough is the right size. Every additional pass develops gluten. If you need to patch a tear, press the pieces together with a fingertip – don’t knead them back in.
Cause #2: Too Much Water or Over-Hydration
Water activates gluten. More water means more gluten activation, which means tougher crust. But here’s the trick beginners struggle with: you also need enough water to bind the dough.
The Confusing Part
Recipes say “don’t add too much water” and “use enough water to make it come together” in the same paragraph. Most bakers err on the side of caution and add too little, leading to crumbly dough that falls apart. Then they overwork it trying to fix the crumble, and end up with a tough crust anyway.
How Much Water Is Too Much?
For a standard double-crust pie (about 2½ cups flour), the sweet spot is ½ to ¾ cup of ice water – and you should add it one tablespoon at a time. Stop the moment the dough holds together when you squeeze a handful. If a few dry spots remain, that’s fine. They will hydrate during the rest.
The Spray Bottle Trick
King Arthur’s test kitchen popularized this and it works: use a spray bottle instead of a measuring cup. You can mist just the dry spots instead of dumping liquid in. I’ve used this method for three years and my crusts are noticeably more tender than when I free-poured water.
What Over-Hydrated Dough Looks Like
Sticky to the touch, leaves residue on your hands, and stretches like taffy when you try to roll it. If you dump it out and it slumps into a wet puddle rather than holding its shape, you’ve gone too far.
Cause #3: Warm Butter or Warm Ingredients
Warm ingredients are the silent killer of flaky crusts. The butter melts before it should, the water doesn’t chill the dough, and the flour absorbs fat instead of being coated by it.
Why Cold Matters
Solid fat chunks create flaky layers. Soft fat creates uniform dough. When butter is too warm (anything above 65°F is borderline), it smears into the flour during mixing instead of staying as discrete pieces. You’ll see this as a dough that looks homogenous rather than chunky.
Common Warm-Butter Mistakes
- Leaving butter on the counter to “soften.” Pie crust butter should be cold, not softened. 15 minutes out of the fridge is plenty.
- Warm kitchen. If your kitchen is above 75°F, chill your mixing bowl and flour beforehand.
- Hot hands. Hand-mixing in a warm kitchen transfers body heat fast. Use a bench scraper instead of your palms.
- Water that’s not ice-cold. “Cold water” from the tap is usually 50-60°F. Use water with ice cubes floating in it.
How to Tell If Your Butter Is the Right Temperature
It should bend slightly when you press it but not feel greasy or leave a smear on the counter. If your fingerprint leaves an indent that fills back in, the butter is ready. If it leaves a greasy mark, it’s too warm – put it back in the fridge for 10 minutes.
Cause #4: Wrong Fat or Wrong Fat Ratio
The type of fat you use changes everything about your crust’s final texture.
Butter vs Shortening vs Lard
Butter: Very flaky, rich and buttery flavor, harder to use because it melts fast. Best for flavor-focused bakers.
Shortening: Flaky, neutral flavor, easiest to work with. Best for beginners and hot kitchens.
Lard: Very flaky, savory and porky flavor, easy to use. Best for savory pies and traditional baking.
Butter + Shortening blend: Very flaky, buttery flavor, easy to use. Best of both worlds.
Which Fat Makes the Toughest Crust?
All-butter crusts are the most prone to toughness because butter melts at a lower temperature than shortening or lard. If you’re a beginner and your crusts keep coming out tough, try replacing half the butter with shortening. You’ll get almost as much flavor and a much more forgiving dough.
On the other end, all-shortening crusts can turn out tough if you overwork them, because the fat blends in more readily when soft. But for most home bakers, shortening is the easier path to flakiness.
The Fat Ratio Question
Standard pie crust uses a 1:2 fat-to-flour ratio by weight. For 2½ cups of flour (about 300g), that’s 150g of total fat. Going lower than that (less fat) gives you a tougher, more bread-like crust. Going higher (more fat) gives you a more tender, biscuit-like crust that may not hold a crimp.
How to Fix Tough Pie Crust: Step-by-Step Corrections
If you’ve already mixed your dough and it feels tough, here’s how to recover at each stage.
Step 1: Stop Mixing the Moment Dough Holds Together
Squeeze a handful of dough. If it holds together without crumbling apart, stop adding water and stop mixing. Resist the urge to “make it smooth.” Shaggy is correct.
Step 2: Chill the Dough for at Least 1 Hour
Wrap the dough disc in plastic wrap and refrigerate for a minimum of 1 hour, ideally 2. This does two things: it relaxes the gluten strands that formed during mixing, and it re-firms the butter chunks. Many bakers skip this step and wonder why their crusts are tough – the rest is non-negotiable.
Step 3: Roll Gently from the Center Out
Roll the dough in one direction (away from you), turn the disc a quarter turn, roll again. Repeat. Don’t press down hard. Lift and turn frequently to keep the dough from sticking to the counter. If it sticks, slide a bench scraper underneath – don’t flour the counter, because extra flour changes the dough’s hydration ratio.
Step 4: Don’t Stretch Dough Into the Pan
Lift the rolled dough over your rolling pin and drape it into the pie pan. Settle it into the bottom by gently lifting the edges and letting gravity do the work. If there are gaps, trim excess and patch – never stretch to fill. Stretching causes shrinkage during baking, which makes the crust pull away from the filling and feel tough.
Step 5: Chill Again Before Baking
After fitting the dough into the pan, refrigerate the whole pie for 20-30 minutes before baking. This re-chills the butter and helps prevent shrinkage. It’s the step most beginners skip and the one that fixes the most “tough crust” complaints.
Salvaging a Tough Pie Crust After Baking
If the pie is already baked and the crust came out tough, you can’t reverse it – but you can rescue the eating experience.
- Serve it warm, not cold. Tough crust softens with heat. Warm pie is more forgiving than cold pie.
- Add a moist topping. Whipped cream, ice cream, or a sauce masks toughness and adds texture contrast.
- Crumble it. Strip the tough crust off and crumble it as a topping for the next pie or as a streusel.
- Use it for a different dessert. A tough crust becomes a fine base for a pudding or ice cream pie where softness matters more than flakiness.
- Re-purpose the filling. Turn the filling into a crumble or a trifle and start fresh on the crust next time.
What Doesn’t Work
Brushing warm butter on top won’t soften a tough crust. Reheating in the oven won’t undo gluten development. Once the proteins have set, they’re set. The only real fix is prevention next time.
Pie Crust Mistakes Checklist for Beginners
Use this list every time you make pie crust until the habits stick:
- Butter straight from the fridge, not softened.
- Ice water with floating ice cubes.
- Mix or pulse only until dough holds together when squeezed.
- Visible butter chunks the size of peas – that’s correct.
- Rest at least 1 hour, ideally 2, before rolling.
- Roll from the center out, turn a quarter turn between passes.
- Never stretch dough into the pan.
- Chill again for 20-30 minutes after fitting into the pan.
- Bake from cold, not room temperature.
Frequently Asked Questions
What can I do if my pie crust is too tough?
Rest the dough for at least 1 hour in the fridge to relax the gluten, use less water next time (add it one tablespoon at a time), and handle the dough as little as possible during mixing and rolling. If the crust is already baked and tough, serve it warm and pair it with whipped cream or ice cream to soften the texture contrast.
How to get the flakiest pie crust?
Use very cold butter cut into pea-sized pieces, work the dough as little as possible, add ice water one tablespoon at a time until the dough just holds together, rest the dough for at least 1 hour before rolling, and chill the shaped crust again for 20-30 minutes before baking. Bake from cold so the fat stays solid long enough to create flaky layers.
Is pie crust better with butter or crisco?
Butter gives the richest flavor but melts faster and is harder to work with. Shortening (Crisco) is more forgiving and produces a reliably flaky crust, but with a more neutral flavor. Many bakers use a 50/50 blend of butter and shortening to get flavor and flakiness together. For beginners in warm kitchens, shortening is the safer choice.
Why is my pie crust dense and chewy?
A dense and chewy crust usually means the gluten developed too much from over-mixing, over-rolling, or adding too much water. It can also happen if the butter melted into the flour instead of staying in chunks. Cold ingredients, minimal handling, and a proper rest period fix this problem.
Why is my pie crust hard after refrigeration?
Hard dough after refrigeration is normal – the butter has re-firmed and the gluten has tightened. Let the dough sit at room temperature for 5-10 minutes before rolling so it becomes pliable enough to roll without cracking. If it’s still rock-hard after 15 minutes, it may be too cold and needs another minute or two.
What does overworked pie crust dough look like?
Overworked dough looks smooth, uniform, and slightly stretchy – almost like play-dough. Properly mixed dough should look shaggy with visible butter chunks the size of peas and dry floury streaks. If your dough has no visible fat pieces, it’s been overworked and the crust will be tough.
Pie crust dough too hard to roll – what do I do?
Let the dough rest at room temperature for 5-10 minutes to soften slightly. If it’s still too hard after that, you may have used too little water or rested it too long in the freezer. Let it warm another 5 minutes, and if cracks appear at the edges, press them together with your fingertips rather than adding more water.
The Bottom Line on Tough Pie Crust
A tough pie crust isn’t a mystery – it’s gluten that developed too much and fat that melted too soon. The fix is the same every time: cold ingredients, minimal handling, water added a tablespoon at a time, and a real rest period before rolling.
If you’ve been struggling with tough pie crust, pick one habit to change first – I’d start with the rest. Chill the dough for at least 1 hour before rolling and again for 20 minutes after fitting it into the pan. That single change fixes more tough-crust problems than any other adjustment.
Once you’ve nailed those basics, experiment with butter-to-shortening ratios and see what works in your kitchen. Every kitchen is different, and finding your own flaky crust is half the fun of pie baking.