
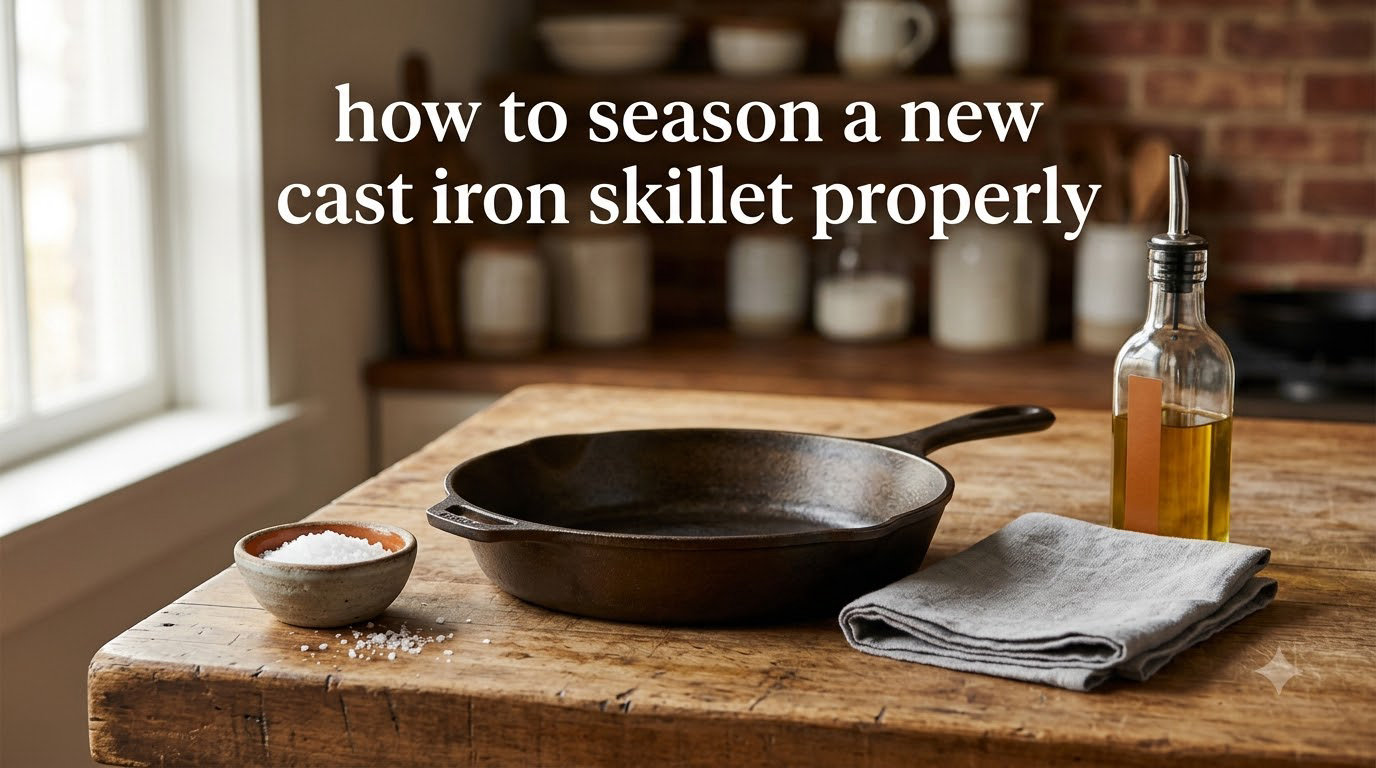
Learning how to season a new cast iron skillet properly is the single most important thing you can do to unlock decades of nonstick cooking. Seasoning builds a hard, glassy layer of polymerized oil on the iron surface that prevents rust and makes food release naturally. In this guide, I walk you through the oven and stovetop methods, the best oils to use, and the troubleshooting fixes that actually work.
Table of Contents
What Is Seasoning and Why Does It Matter?
Seasoning is not a spice rub or a flavoring technique. In cast iron cooking, seasoning refers to the process of baking thin layers of oil onto the pan until the oil polymerizes and bonds permanently to the metal.
Polymerization happens when oil is heated past its smoke point. The fat molecules break apart, recombine into a hard plastic-like coating, and fuse to the iron surface. Each layer you add builds on the last, creating a smooth, increasingly nonstick patina.
Without seasoning, raw cast iron is porous and reactive. Water causes rust within minutes. Acidic foods like tomatoes strip the surface. Food sticks relentlessly. A well-seasoned pan solves all three problems at once.
The seasoning also improves with use. Every time you cook with fat, you deposit another micro-layer of polymerized oil. A 50-year-old skillet with decades of seasoning will outperform any brand-new pan. That is why experienced cast iron collectors say, “the best seasoning is cooking.”
Do New Cast Iron Skillets Need Seasoning?
Most modern cast iron skillets, including those from Lodge, come pre-seasoned from the factory. Lodge applies a single layer of soy-based vegetable oil and bakes it at high heat before shipping. You can technically cook on a new Lodge pan right out of the box.
However, factory seasoning is thin and even. I always add at least two or three extra seasoning layers before the first real cook. This builds a thicker foundation and gives the pan a head start toward that slick, black finish every cast iron user wants.
If you bought an unseasoned pan, a vintage skillet from a flea market, or a pan that was stripped down to bare metal, you must season it fully before cooking. Bare iron rusts in minutes when exposed to moisture.
How to Season a New Cast Iron Skillet in the Oven
The oven method is the gold standard for seasoning cast iron. It produces even heat across the entire surface, including the handle and the bottom. Here is how to do it step by step.
Step 1: Wash and Dry the Skillet
Scrub the pan with warm soapy water and a stiff brush to remove any factory residue, dust, or protective coating. Rinse thoroughly. Dry immediately with a lint-free towel, then place the pan on a burner over low heat for two to three minutes to evaporate every last drop of moisture.
Step 2: Apply a Thin Layer of Oil
Pour a small amount of high-smoke-point oil onto a folded paper towel. Rub the entire pan, inside and out, including the handle and the bottom. Then take a clean, dry paper towel and wipe off as much oil as you can. The goal is an invisible, micro-thin film. If the pan looks shiny or wet, you used too much oil and the seasoning will be sticky.
Step 3: Bake the Skillet Upside Down
Place the oiled skillet upside down on the center rack of your oven. Put a sheet of aluminum foil on the rack below to catch any drips. Heat the oven to 450 to 500 degrees Fahrenheit and bake the pan for one hour.
Step 4: Let It Cool in the Oven
Turn off the oven and leave the pan inside until it cools to room temperature. This slow cooling prevents thermal shock and lets the polymerized layer harden completely. Do not rush this step by running cold water over a hot pan.
Step 5: Repeat Two to Four More Times
Repeat steps two through four at least two more times for a new skillet. Each cycle adds another bonded layer. Three to five total layers give you a solid foundation. The pan will darken and develop a subtle sheen after each round.
How to Season a Cast Iron Skillet on the Stovetop
The stovetop method works well for touch-ups, quick re-seasoning, or when you do not have oven access. The heat is less even than an oven, so pay close attention to avoid hot spots.
Place the clean, dry skillet over medium heat for two minutes to warm the metal. Remove from heat and apply a paper-thin layer of oil to the entire cooking surface. Wipe off the excess until the surface looks almost dry.
Return the pan to medium-high heat. Heat until the oil just begins to smoke, then reduce the heat slightly and maintain that temperature for ten minutes. The smoking is a sign that polymerization is happening.
Turn off the heat and let the pan cool on the burner. Repeat this process two to three times for a quick build-up. The stovetop method is faster but less uniform than the oven method, so I use it mainly for maintenance rather than building a fresh seasoning from scratch.
Best Oils for Seasoning Cast Iron
Not all oils are equal when it comes to seasoning. You need an oil with a high smoke point and a neutral flavor. Here is a comparison of the most popular choices.
Vegetable oil is the most widely recommended option. It has a smoke point around 400 to 450 degrees Fahrenheit, is inexpensive, and produces a reliable, even seasoning. This is what Lodge uses at the factory.
Canola oil performs almost identically to vegetable oil with a smoke point of 400 degrees. It is a solid everyday choice that most people already have in their kitchen.
Crisco shortening is the gold standard according to many cast iron enthusiasts on Reddit and collector forums. It produces a smooth, non-sticky finish and has a smoke point of 360 degrees. Jeff Rogers, a collector with over 165 pieces of cast iron, swears by Crisco for a reason.
Grapeseed oil has a high smoke point of 420 degrees and polymerizes cleanly. It is a good premium option if you already use it for cooking.
Flaxseed oil gets a lot of attention online because it is the only drying oil commonly available in kitchens. It polymerizes into an especially hard finish. However, many experienced users report that flaxseed seasoning tends to flake after a few months. I recommend it only if you are willing to monitor and touch up the seasoning regularly.
Oils to Avoid When Seasoning Cast Iron
Extra virgin olive oil has a smoke point of only 325 to 375 degrees, which is too low for proper polymerization. It will smoke heavily, produce a gummy residue, and never fully harden. Save olive oil for finishing dishes, not for seasoning.
Butter and lard were common in the past, but both contain water and milk solids that interfere with the bonding process. If you want animal fat, use clarified butter or rendered lard with all moisture removed.
Flavored or infused oils leave behind particles and sugars that burn and create sticky patches. Always use plain, neutral oil for seasoning.
How to Tell If Your Cast Iron Is Properly Seasoned
A properly seasoned skillet has a uniform dark brown to black color across the entire cooking surface. It should feel smooth to the touch, not gritty or tacky.
The water test is simple: sprinkle a few drops of water on the surface. If the water beads up and rolls around, the seasoning is working. If the water spreads out and soaks in, you need more layers.
The egg test is the real proof. Heat the pan over medium heat, add a small pat of butter, and crack in an egg. If the egg slides freely without sticking, your seasoning is dialed in. If it sticks, add two or three more seasoning layers and try again.
Troubleshooting Common Seasoning Problems
Sticky surface: This is the most common seasoning complaint and almost always means you used too much oil. The fix is to place the sticky pan in the oven at 450 degrees for one hour. The excess oil will polymerize and harden. Next time, wipe off more oil before baking.
Flaking or chipping: Flaking usually comes from applying layers too thick, using flaxseed oil, or thermal shock from pouring cold water on a hot pan. Strip the loose areas with steel wool and re-season those spots with thin layers.
Uneven or blotchy seasoning: Uneven seasoning happens when oil pools in the center or along the sides. Always place the pan upside down in the oven so excess oil drips away. Buff the oil until the surface looks dry before baking.
Rust spots: Rust forms when the pan is left wet or stored in a humid environment. Scrub off the rust with steel wool, dry the pan completely, and apply a full seasoning cycle. Store the pan in a dry place with a thin coat of oil.
Food still sticking: If food sticks after several seasoning cycles, the most likely cause is heat management. Cast iron retains heat better than any other cookware, so use medium heat instead of high. Preheat the pan slowly and always add fat before food.
What to Cook First in a New Cast Iron Skillet
The first few meals in a freshly seasoned pan should be fatty, forgiving foods that build seasoning rather than challenge it.
Bacon is the classic first cook. The rendered fat deposits another layer of polymerized oil while the salt and low acidity pose no threat to your new seasoning.
Cornbread baked in a greased skillet is another excellent choice. The batter creates a barrier between food and pan, and the high oven temperature reinforces the seasoning.
Fried eggs with butter test your seasoning while adding a thin layer of fat. Start with medium heat and plenty of butter for the best results.
Grilled cheese sandwiches use butter on both sides of the bread, which builds seasoning while producing an evenly browned crust.
Roasted vegetables tossed in oil work well once you have a few cooks under your belt. Avoid highly acidic vegetables like tomatoes until the seasoning is more established.
Cast Iron Skillet Maintenance and Care
Cleaning cast iron after cooking is simpler than most people think. While the pan is still warm, rinse it under hot water and scrub with a stiff brush or a Lodge pan scraper. Contrary to the old myth, modern dish soap is safe on seasoned cast iron. The original warning was about lye-based soaps that no longer exist.
Never soak cast iron in water or put it in the dishwasher. After rinsing, dry the pan immediately and place it on a burner over low heat for one minute. Apply a light wipe of oil while the pan is warm, then store it in a dry place.
If food residue is stubborn, add coarse salt and a few drops of water to the warm pan and scrub with a paper towel. The salt acts as a gentle abrasive without damaging the seasoning.
You do not need to re-season your skillet regularly if you cook with it often. Daily use with fats and oils maintains and improves the seasoning naturally. Full re-seasoning in the oven is only necessary if you see rust, flaking, or significant wear.
Frequently Asked Questions
Do I need to season a brand new cast iron skillet?
Most new cast iron skillets come pre-seasoned from the factory, but adding two or three extra layers before your first cook gives the pan a stronger nonstick foundation. Pre-seasoning is a starting point, not a finish line.
How many times should I season a new cast iron skillet?
Three to five seasoning cycles in the oven at 450 to 500 degrees Fahrenheit produce a solid base layer for a new pan. After that, regular cooking with fats builds and maintains the seasoning naturally.
What is the best oil for seasoning cast iron?
Vegetable oil and canola oil are the safest choices with reliable results. Crisco shortening is favored by many cast iron enthusiasts for producing a smooth, non-sticky finish. Avoid low smoke point oils like extra virgin olive oil.
Why is my cast iron sticky after seasoning?
Sticky cast iron almost always means too much oil was applied. The fix is to bake the pan in the oven at 450 degrees for one hour to polymerize the excess. Next time, wipe off all visible oil until the surface looks nearly dry before baking.
Can I use soap on cast iron?
Yes, modern dish soap is safe on seasoned cast iron. The old no-soap rule applied to lye-based soaps that stripped seasoning. Today’s mild dish soap will not damage a properly bonded seasoning layer.
How long does it take to fully season cast iron?
A single oven seasoning cycle takes about 90 minutes including preheating and cooling. Building a solid base of three to five layers takes an afternoon. But true seasoning is an ongoing process that improves with every meal you cook in the pan.
What should I cook first in a new cast iron skillet?
Start with fatty, low-acid foods like bacon, cornbread, or grilled cheese sandwiches. These deposit additional seasoning layers while posing no risk of sticking or damaging your fresh seasoning. Avoid tomatoes and acidic sauces until the seasoning is well established.
Knowing how to season a new cast iron skillet properly gives you a pan that performs better every year. Whether you choose the oven method for a fresh build or the stovetop method for quick maintenance, the key is thin layers of high-smoke-point oil baked at 450 to 500 degrees. Cook with fat often, clean gently, and dry immediately. Your cast iron will reward you with a lifetime of nonstick cooking.