
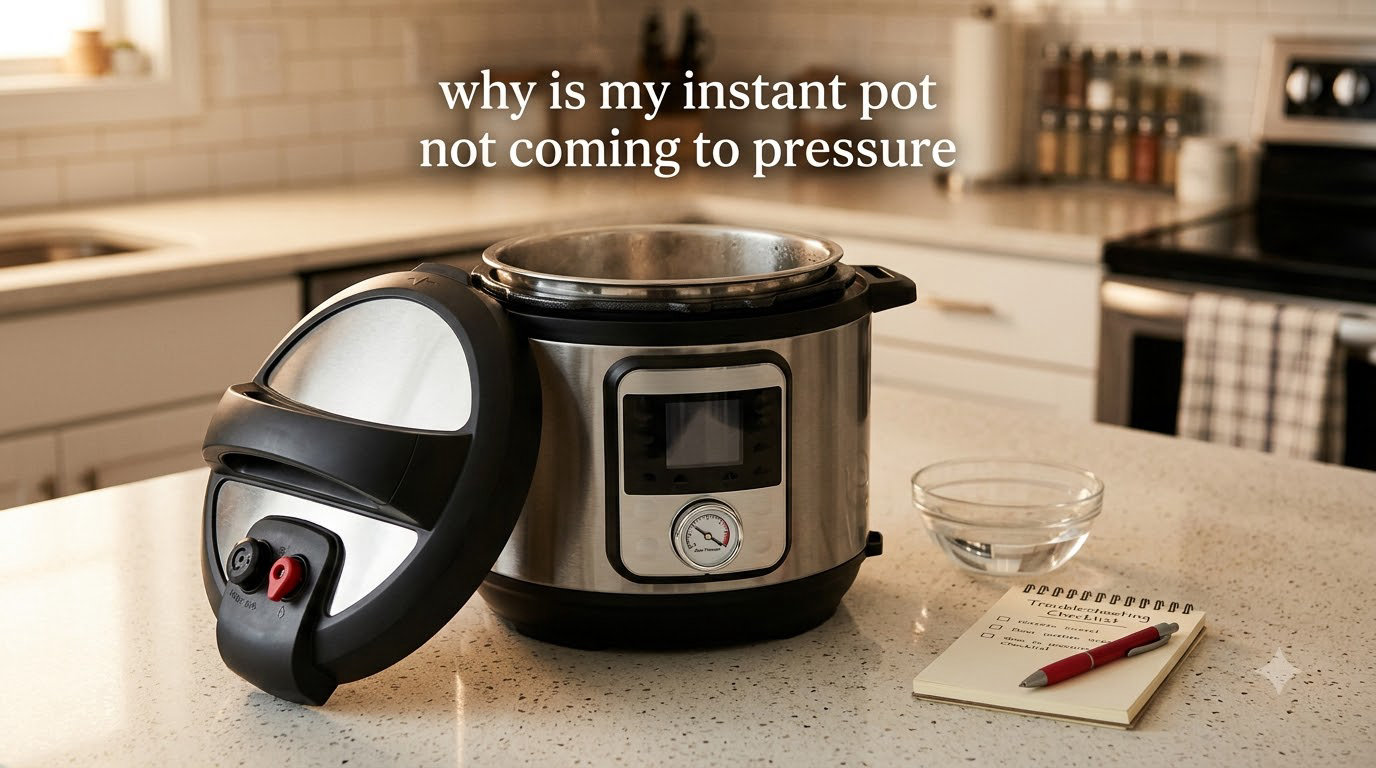
You press Pressure Cook, the display lights up, and 15 minutes later the screen still says “On” instead of counting down. If you’re staring at your Instant Pot wondering why is my instant pot not coming to pressure, you’re not alone — this is the single most common troubleshooting question I get from readers. The good news: nine times out of ten, the fix takes less than 10 minutes and no replacement parts are needed.
I spent a weekend going through every common pressure failure with a 6-quart Duo and an 8-quart Pro to map out exactly what stops the pot from sealing. This guide walks you through a 60-second diagnosis, the six most likely culprits, and a final water test that proves your hardware is healthy (or tells you it’s time to call support).
Table of Contents
6 Reasons Your Instant Pot Won’t Come to Pressure
If your pot is stuck on “On” or the float valve refuses to pop up, the cause is almost always one of these six issues:
- Not enough liquid in the inner pot. Electric pressure cookers need steam to build pressure. Below the minimum liquid line, the pot will heat endlessly and never seal.
- The steam release valve is set to Venting. If the knob on top of the lid points to “Venting,” steam escapes as fast as it forms and pressure never builds.
- The silicone sealing ring is dirty, stretched, or mis-seated. The sealing ring (also called the gasket) traps steam. If it’s loose, food-coated, or has lost its shape, the seal leaks.
- The float valve or anti-block shield is clogged. A sticky float valve won’t pop up — and a clogged anti-block shield prevents steam from reaching the valve.
- A Burn notice shut down heating. When food scorches the bottom, the pot switches to Keep Warm and never pressurizes.
- You overfilled the inner pot. Going past the max fill line leaves no headspace for steam. Foamy foods (beans, pasta, grains) make this worse.
Most readers fix their pot by working through this list in order. The Quick Diagnosis below helps you skip straight to the right reason.
Quick Diagnosis: Is Your Instant Pot Really Not Pressurizing?
Before you start unscrewing anything, answer these yes/no questions. They map directly to one of the six reasons above.
- Is the steam release knob on the lid pointing to Sealing (usually straight up or toward you)?
- Did you add at least 1 cup of thin liquid (water, broth, sauce) for a 6-qt, or 1/2 cup for a 3-qt?
- Is the inner pot filled to no more than the 2/3 line (1/2 for foamy foods like beans or pasta)?
- Did the silicone sealing ring sit cleanly in the metal rack on the underside of the lid?
- Is the float valve on top of the lid moving freely when you press it with a chopstick?
- Does the anti-block shield (small metal cap inside the lid) click off and on when you push it sideways?
- Has the display shown “On” for more than 20 minutes without changing to a countdown?
- Is the inner pot the correct size for the base (a 6-qt liner in an 8-qt base will never seal)?
If you answered “no” or “I’m not sure” to any of these, jump to the matching reason below. If everything checks out, skip to the 5-minute water test at the bottom of the article.
Instant Pot Lid Parts: A 2-Minute Glossary
Every fix below uses these part names. Pin them down once and the rest of the article reads like a recipe.
- Float valve: the small metal pin on top of the lid. It pops up when the pot is pressurized and locks the lid for safety. If it’s down and won’t move, your pot hasn’t sealed.
- Anti-block shield: the small removable metal cap on the underside of the lid that covers the steam release pipe. It stops food from spraying up into the vent.
- Sealing ring (gasket): the silicone ring that snaps into the wire rack under the lid. It’s the main seal that traps steam.
- Steam release handle: the knob on top of the lid. Set it to Sealing for pressure cooking or Venting to quick-release steam.
- Lid locking pin: the post inside that the float valve snaps over once pressure builds. This is what keeps the lid from being opened mid-cook.
- Inner pot / max fill line: the stainless steel pot that sits inside the heating base. The “PC MAX — 2/3” and “— 1/2” markings on its wall mark the upper limits for pressure cooking and for foamy foods.
Reason 1: There Is Not Enough Liquid in the Pot
Pressure cookers don’t pressurize on dry heat — they need liquid to turn into steam. If your pot is stuck on “On” and the inner pot looks dry around the edges, this is the first thing to check.
As a rule of thumb, most recipes need at least 1 cup of thin liquid in a 6-qt pot, and 1/2 cup in a 3-qt. An 8-qt can usually get away with the same 1 cup because it has more thermal mass to keep things moving. Here’s a quick reference:
| Pot Size | Minimum Liquid | Typical Recipe Range |
|---|---|---|
| 3-quart | 1/2 cup | 1/2 to 2 cups |
| 6-quart | 1 cup | 1 to 4 cups |
| 8-quart | 1 cup | 1 to 6 cups |
Thick sauces (thickened stews, refried beans, oatmeal) pressurize slowly because water has a harder time escaping as steam. If you’re cooking something starchy or dairy-heavy, add an extra 1/2 cup of water or broth and stir it in before closing the lid. Don’t stir after the lid is on — the manual is clear about that for a reason.
Pro tip: If you sauteed before pressure cooking, don’t forget the deglaze. After sauteing, hit Cancel, pour in your liquid, and scrape the bottom with a wooden spoon to lift any stuck bits. A clean bottom means a faster seal.
Reason 2: The Steam Release Valve Is Set to Venting Instead of Sealing
This is the single most common reason Instant Pots fail to pressurize — including for experienced users. After a quick release, the steam release handle often stays in the Venting position. If you start the next cook without flipping it back to Sealing, steam escapes continuously and the float valve never pops up.
On most Instant Pot lids, “Sealing” points straight up (or away from the handle), and “Venting” points sideways (toward the handle, or to the left when you face the pot). The icon next to each position makes it easy to verify.
Quick check: with the lid off, look at the steam release pipe inside the lid. If you can see daylight all the way down to the heating plate, the valve is set to Venting. If the small metal cover is closed over the pipe, it’s set to Sealing. That 3-second look is worth more than 30 minutes of staring at “On.”
Reason 3: The Sealing Ring Is Damaged, Dirty, or Mis-Seated
The silicone sealing ring is the only thing standing between you and a working pressure seal. If it’s loose, food-coated, torn, or stretched out, steam leaks out the top of the lid and your pot will sit on “On” forever.
Pull the lid off and inspect the ring. It should sit snugly in the metal wire rack with no twists, gaps, or visible food debris. If the ring feels loose or puffy, it has likely absorbed odors and oils — that’s a fixable problem.
The freezer trick works: drop the ring in a zip-top bag and into the freezer for 5-10 minutes. Cold silicone shrinks back to its original shape and re-seats more firmly. Several Reddit users in r/instantpot confirm this fixed their “won’t pressurize” issue in seconds.
If the ring is torn, cracked, or permanently stretched, replace it. Keep a spare on hand — they are the most common wear item on any Instant Pot. Two rings also let you keep a sweet ring and a savory ring, which prevents flavor transfer.
Pro tip: Always confirm the ring is actually in the lid before cooking. It’s surprisingly easy to leave it on the counter after washing.
Reason 4: The Float Valve or Anti-Block Shield Is Clogged
If the float valve on top of the lid won’t pop up, the pot hasn’t reached the pressure threshold needed to lock the lid. The two usual suspects are a sticky float valve and a clogged anti-block shield.
To clean the float valve, push it down and pop the silicone cap off the top. Wipe the pin and the inside of the cap with a damp cloth. Food residue and dishwasher detergent are the usual culprits. Snap the cap back on — it must sit flush, or it will misread the pressure.
The anti-block shield is the small metal cap on the underside of the lid. Push it sideways and lift it off. Rinse it under warm water and confirm nothing is clogging the steam release pipe underneath. Re-seat it with a click.
Users on r/instantpot repeatedly report that the float valve silicone cover slips out of place after washing the lid in the dishwasher. A two-second press to confirm it’s seated is often the entire fix.
Reason 5: Burn Notice Shut Down Heating Mid-Cook
If the display flashes “burn” or “FoodBurn,” the Instant Pot has shut off the heating element because it detected scorching on the bottom of the inner pot. The pot will not pressurize while this message is on screen, and the timer never starts.
Press Cancel to clear the message. Open the lid (once any remaining pressure has been released), pour the contents into a bowl, and deglaze the inner pot with 1/2 cup of water or broth, scraping the bottom firmly with a wooden spoon. Return the food, add the deglazing liquid, seal the lid, and restart Pressure Cook.
Burn notices usually mean the recipe needs more liquid, the bottom wasn’t deglazed after saute, or the starch content is too high. Tomato-heavy and dairy-heavy recipes are repeat offenders.
Reason 6: You Overfilled the Inner Pot
The max fill line on the inner pot is there for a reason. Past the 2/3 mark for regular foods and the 1/2 mark for foamy foods (beans, pasta, grains, oatmeal), there isn’t enough headspace for steam to expand. The pot may hiss, spit, or simply refuse to seal.
Foamy foods are the worst offenders — starch bubbles can climb up the steam release pipe and trigger the anti-block shield clog. Cut big batches in half. Yes, even if the recipe says it fits.
Also confirm you’re using the right inner pot for the base. A 6-qt liner dropped into an 8-qt base has a gap around the edges that prevents the pressure sensor from registering properly. The pot will heat forever and never seal. Multiple Reddit users have made this exact mistake.
Why It Says “On” but Never Starts Counting Down
If the display sits on “On” but never changes to a countdown, your pot is heating but hasn’t reached full pressure yet. Two things are happening: the float valve hasn’t popped up to lock the lid, and the pressure sensor hasn’t tripped the timer.
The most common cause is the sealing ring or the steam release valve — both leak steam before the pot can build enough pressure. Walk through Reasons 2 and 3 first. If both check out, give the pot more time: a frozen-meat recipe in a 6-qt can take 20-25 minutes to come to pressure, and high altitude adds even more.
Why It Takes Forever to Build Pressure
Slow pressure buildup is usually a combination of factors, not a single failure. The most common culprits are frozen food, cold ingredients, large liquid volume, and high altitude.
If you dropped a frozen roast into cold water, your pot will spend 20-30 minutes just bringing everything up to boiling before steam even starts to form. Thaw meat first, or add an extra 15-20 minutes to your mental timer. Above 3,000 feet elevation, water boils at a lower temperature, so pressure takes 20-30% longer to build. Plan accordingly.
Run the 5-Minute Water Test to Confirm the Hardware Is Healthy
If you’ve worked through the six reasons above and the pot still won’t seal, run the water test. It confirms whether the heating element, pressure sensor, and lid are all working correctly.
- Place the inner pot in the base. Add 2 cups of water to a 6-qt (1 cup for a 3-qt, 3 cups for an 8-qt).
- Set the steam release handle to Sealing. Confirm the sealing ring is seated in the lid and the float valve moves.
- Close the lid and turn the lid lock until it clicks.
- Select Pressure Cook (or Manual) on High for 2 minutes.
- Time how long it takes the float valve to pop up. A healthy 6-qt should seal in 5-10 minutes.
If the float valve pops up within the expected window, your hardware is fine — the original recipe had a fixable problem (most often not enough liquid or a mis-seated ring). If the float valve never pops up after 15+ minutes, the pressure sensor, lid, or heating element is failing. That’s the moment to contact Instant Pot customer support.
Less Common Fixes Worth Trying
These fixes solve problems that don’t show up on the obvious checklist. If you’ve worked through the six main reasons and the water test still fails, try these next.
Steam release handle safety clip is bent. On some models, a small metal safety clip inside the steam release handle holds the knob in place. If the clip is bent or missing, the handle wobbles and steam leaks around it. A pair of needle-nose pliers can usually bend the clip back into shape. This is a rare but documented fix on paintthekitchenred.com.
The noPr error code. “noPr” means the pressure sensor can’t detect a pressure increase. Power the pot off, unplug it for 60 seconds, and restart. If the error returns, the pressure sensor itself is likely failing.
Wrong inner pot size in an 8-qt base. As mentioned above, a 6-qt liner in an 8-qt base will not seal. Check the model number stamped on the bottom of the inner pot against the model number on the base.
Pot-in-pot cooking without water. When you stack a smaller bowl inside the inner pot (for rice, custards, cheesecakes), the outer pot still needs at least 1 cup of water. Without it, no steam, no pressure, no cooking.
Power cord and outlet sanity check. A loose plug or a shared outlet with a high-draw appliance can cause intermittent power. Plug the Instant Pot directly into a known-good wall outlet and try again.
When to Call Instant Pot Customer Support
If the water test fails — float valve never pops up after 15+ minutes — the heating element, pressure sensor, or lid electronics are likely failing. At that point, contact Instant Pot customer support directly through the official website. Have your model number (printed on the back of the base) and purchase date ready. Most units carry a 1-year warranty, and Duo and Ultra models often extend that to 2 years.
If the pot is outside warranty, an aftermarket lid replacement is often cheaper than a new unit. Just confirm the model number matches before you buy.
Frequently Asked Questions
Why is my Instant Pot coming to pressure but not counting down?
If your Instant Pot shows pressure building but the timer never starts counting down, the float valve hasn’t popped up high enough to trigger the pressure sensor. The most common causes are a mis-seated silicone sealing ring, the steam release handle still set to Venting, or a clogged anti-block shield. Walk through Reasons 2, 3, and 4 above — most readers fix this in under 10 minutes.
Why is my Instant Pot taking forever to build pressure?
Slow pressurization is almost always a combination of frozen ingredients, cold water, large liquid volume, and high altitude. A frozen 3-pound roast in cold water at 4,000 feet elevation can take 25-30 minutes to come to pressure in a 6-qt pot. Thaw meat first, use room-temperature liquid when possible, and add 20-30% extra time above 3,000 feet.
Is there a reset button on an Instant Pot?
There is no dedicated reset button. To reset the cooker, press Cancel to clear the current program, then unplug the unit for 60 seconds and plug it back in. This clears most software glitches and the noPr error code. If the issue persists after a power cycle, the pressure sensor or heating element may be failing.
My Instant Pot pressure valve won’t pop up. What can I do?
The float valve (the small metal pin on top of the lid) is what tells your pot that full pressure has built. If it won’t pop up, clean the silicone cap on top of the pin, check that the anti-block shield under the lid isn’t clogged, and confirm the sealing ring is seated. Cold-shrinking the sealing ring in the freezer for 5-10 minutes also helps if the ring has expanded.
Why isn’t my Instant Pot float valve rising?
A float valve that refuses to rise usually means steam is escaping before it can build enough pressure to lift the pin. Check the steam release handle (set to Sealing, not Venting), inspect the sealing ring for food debris or stretching, and confirm the anti-block shield is clean. If all three are good, run the 5-minute water test to isolate whether it’s a hardware fault.
Why isn’t my Instant Pot pressurizing enough?
Insufficient pressurization almost always traces back to a leaking seal. The silicone ring is the leading suspect, followed by a clogged float valve and an unsealed steam release handle. Replace the sealing ring if it’s stretched or torn, and reseat the float valve silicone cap after washing the lid in the dishwasher.
Why is my Instant Pot not sealing for pressure?
If your Instant Pot is not sealing for pressure, the most common causes in order are: the steam release valve is set to Venting, the silicone sealing ring is dirty or mis-seated, there isn’t enough liquid in the pot, or the float valve is stuck. Work through the six reasons at the top of this article and your pot will seal in almost every case.
Why is my float valve not popping up?
A float valve that doesn’t pop up means the pot hasn’t reached full pressure yet. Either steam is escaping (check the steam release handle position and sealing ring) or the valve itself is sticky from food or detergent. Pop the silicone cap off the float valve pin, wipe it clean, snap it back on, and try the water test to confirm.
Bringing It All Together
If you’ve been wondering why your Instant Pot is not coming to pressure, the fix almost always comes down to one of six things: not enough liquid, the steam release valve in the wrong position, a damaged sealing ring, a clogged float valve, a burn notice, or an overfilled pot. Work through the Quick Diagnosis checklist, then follow the matching Reason section, then run the 5-minute water test to confirm the hardware is healthy.
Keep a spare silicone sealing ring on hand — it’s the most common wear item and the cheapest fix. And the next time your pot is stuck on “On,” check the steam release handle first. I’ve lost count of how many “broken” Instant Pots were just set to Venting.